Brief Description: Disassembly & Begin Deburring & Dimpling
Today I began by turning on the 2 heaters in the shop while I checked my e-mail and did my morning computer thing (including reading VAF!) IT IS COLD OUT! The low is going to be -10 F. tonight and it is hovering around 0 all day...Burrrr!
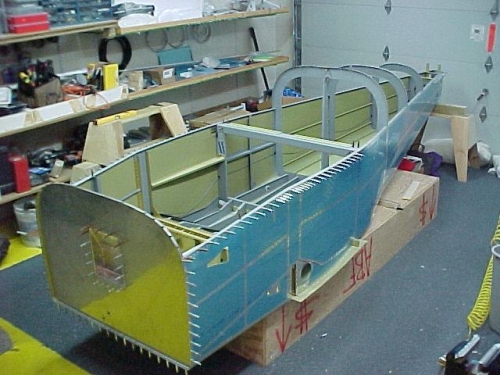
I started by removing all of the parts that have been fitted and drilled over the past several weeks. The fuselage now looks like it did when I "turned the canoe". I ended up putting up another folding table to hold the parts as I work on them. I cleared the workbench off and began to go over the manual again and just put the parts on the bench I am currently working on. I will do everthing in order...again....to make sure I don't miss any dimpling or countersinking. I also note whenever I need to deburr or countersink/dimple anything in the fuselage. This method keeps me from missing anything and getting a suprise when I go to rivet a part on and discover I should have dimpled or deburred that part.....but it happens sometimes. I ended up working on the side rails and deck gussets. I finished with the aft top skins. I figure I will be at this for a week or so and then I will need to prime these parts. I will need to either prime in the shop or need about 40 degrees to do it outside. (the way this winter has been going, I'm sure I will doing it in the shop). It feels good to get back to the build after my 2 week absence.....More tomorrow.
The fuselage after I removed all the parts to deburr & dimple & Prime
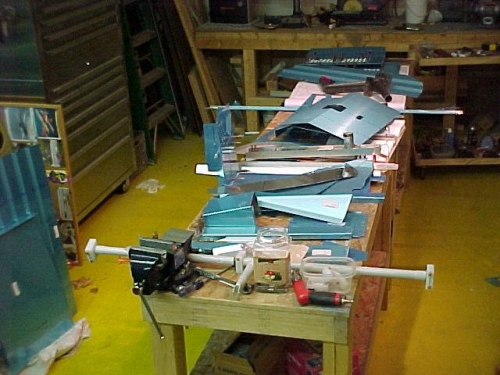
Lots of parts to prep.....
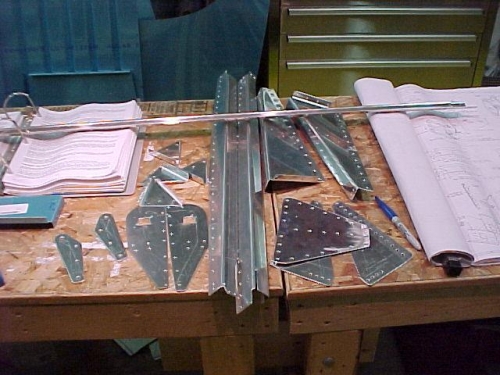
This is what I got deburred and dimpled today....I'm making progress....