Brief Description: Finished riveting and Joined rear and center fusel
Today was one of those days.....that I love!! I got to assemble the rear and center sections of the fuselage and see something that looks like an airplane, I finished riveting the center section and my brother Sam came over and helped me finish the tail section. From there I clecoed in the baggage and seat skins. The skins stiffen the center section up quite well. I then clecoed the two halved together. The manual says to do this upside down, but I did it right side up (as shown in the Orndorf DVD). I set the longerons in place on the tail section, but I had to ream out the slots that hold the longerons in place. I next attached the F-970 forward side skins. This tightens everything up. I sat back and marveled at the sight......Now it is starting to look like a fuselage! I next fluted and clecoed the arm rests and then removed the side skins. There is a part on the bottom that needs to be rolled so it can attached to the bottom of center and aft sections. The manual says to do it by cleco-ing a piece of angle and then twisting it to shape. This did not produce the best look, so I use the Orndorf method of the other side and it looks much better. You probably can't notice the difference, but I can.....After re-attaching the skins, I clamped the longerons in place and began to drill them along the length of the fuselage. I did every-other hole on the left side and then called it a night. I am very happy with todays results.
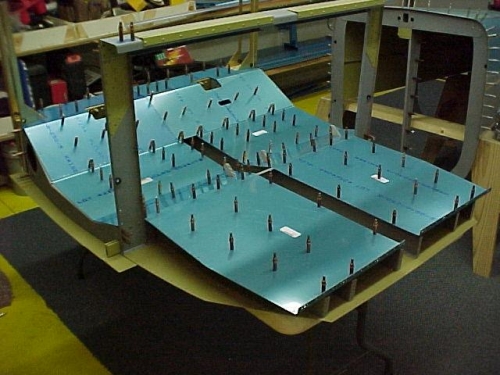
The seat and baggage skins are clecoed in place
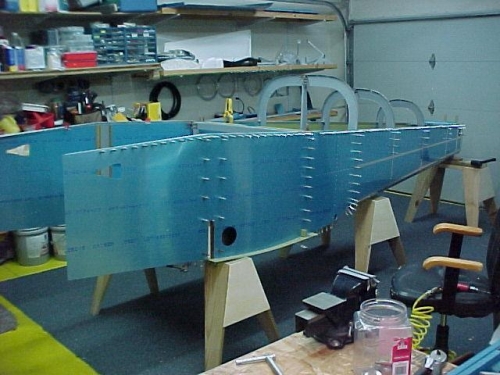
The fuselage with the side skins clecoed on....
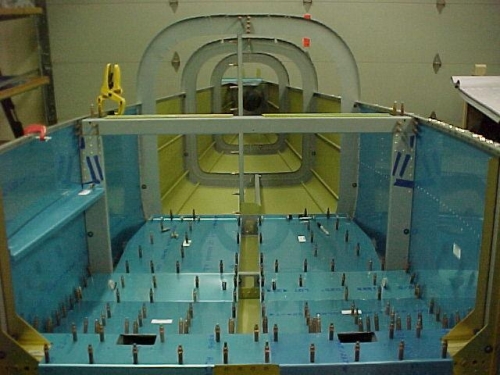
The inside of the fuselage looking from the front to the back