Brief Description: Section 33 BAGGAGE AREA … Page 33 -8 Steps 1 to
Section 33 BAGGAGE AREA … Page 33 -8 Steps 1 to 7
Step 1, I located and fitted the F-1080 Right Baggage Cover and remove the manufacturing tab. Step 2, Clecoed the F-1080 Right Baggage Cover to the F-1034C-R Fuselage Bulkhead.
Step 3, I drew a center line down the front of the F-1028 Baggage Bulkhead Channel.
Step 4, Riveted the bottom two holes in the F-1028 Baggage Bulkhead Channel. And deviating from the plans I added two more rivets to the front flange of the Baggage Bulkhead Channel and F-1006 Bulkhead.
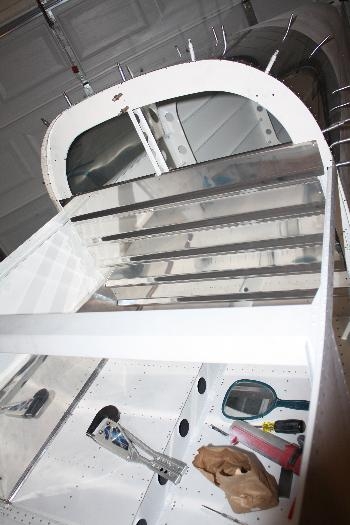
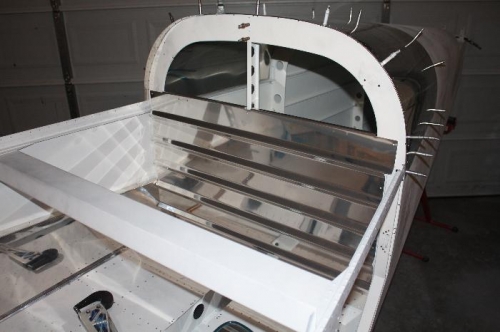
Step 5, Then I cleced the F-1074 Tail Cone Forward Top Skin.
Step 6, After locating the F-1006F Lower Baggage Bulkhead Corrugation to the flanges of the F-1022A Baggage Floor using AN515-8R8 screws.
Step 7, Then Match-Drilled #19 the holes on the left side of the F-1006F Lower Baggage Bulkhead Corrugation. And did the same thing to the F-1028 Baggage Bulkhead Channel flanges.
Time about 1 hour.
F-1006F Lower Baggage Bulkhead Corrugation
Cleced the F-1074 Tail Cone Forward Top Skin and F-1006F Lower Baggage Bulkhead Corrugation