
|

|
|
|
Conrads X-10 Build Log
|
Date: 9-5-2009
|
Number of Hours: 10.00
|
Manual Reference: 28-10 step 1 to 14
|
Brief Description: Section 28, FWD FUSELAGE RIBS, BHDS, BOTTOM SKINS
|
|
Section 28, FWD FUSELAGE RIBS, BHDS, BOTTOM SKINS … Page 28-10, steps 1 to 14.
Step 1, I machine counter sunk the bottom flange of the F-1004 L/R Center Section Side Plates.
Step2, Dimpled all bottom #40 holes in the F-1084 L/R flanges.
Step 3, Removed the F-1076 Center Bottom Skin, Fwd Center Section Bulkhead Assembly, Aft Center Section Bulkhead Assembly and the F-1072 Fwd Fuse Bottom Skin.
Step 4, I debured and dimpled the holes in the edge of the Center Bottom Skin.
Step 5, Removed the Fwd Center Section Bulkhead Assembly from the F-1048 Fwd Fuselage Ribs. Deburred the holes.
Step 6, Removed the F-1043A –L/R Fwd Fuse Bulkhead that have been find drilled. Then machine counter sunk the holes on the bottom flange of the fwd fuse bulkhead for a AN426AD3 rivet as shown in figure 1.
Step 7, machine counter sunk the nutplate attach holes in the web of the fwd fuselage bulkhead to the head of aAN426AD3 rivet as explained in figure 2.
Step 8, Final drilled #40 the row of holes closest the web flange with two row of holes of part F-1049C-L/R Fwd Fuse Floor Ribs.
Step 9, Deburred the Fwd Fuse Floor Ribs F-1049A-B—L/R.
Step10, Final drilled #30 the Aft Flange of the F-1049D-L/R Fwd Fuselage Floor Ribs of the F-1048-L/R Fwd Fuse Ribs.
Step 11, Dimpled all the #30 and #40 holes in the F-1049 Fwd Fuselage Floor Ribs.
Step 12, Final drilled #40 the nutplate attach holes in the flo-scan mount bracket and final drilled #12 the 1/4” nutplate screw holes. Machine countersunk the fuel filter bracket to fit a AN426AD3 rivet. As described in figure 3.
Step 13, Debured holes and edges of the F-1072 Fwd Bottom Skin. And then dimpled all holes.
Step 14, Finally I had to debur any items or areas that I had previously missed and then removed all the “shinny” stuff with 22 grit sandpaper, orbital sander and scotch brite. Then after cleaning with Actone I primed all the parts with DTM primer.
Time, about 10 hours because of the prep and clean work for the priming.
|
|

Completion of Step 14, Deburred and Primer Painted Fuse Parts
|
|
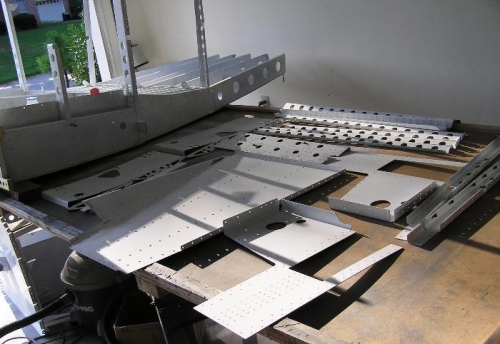
Another View of the Parts
|
|
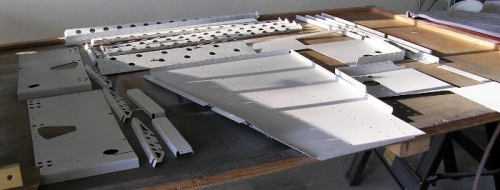
Lots of Fuselage Parts to be Riveted Together
|
|
|
|
|
|
|
|
|
Copyright © 2001-2024 Matronics. All Rights Reserved.
|