Brief Description: NUTPLATE ATTACHMENT to Wing Tips
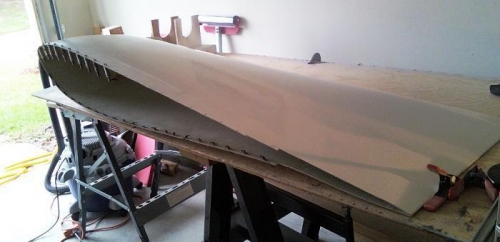
6/6/2009 … Section 24 Page 24-3 Steps 1 to 4. NUTPLATE ATTACHMENT, Step 1 I Match Drilled #40 then clecoed as I when the Wing Tip attachment holes to the existing holes in the W-1001 Leading Edge Wing Skins, W-1003- Top Outboard Wing Skins and W-1005 Bottom Wing Skins. Now final drill all the #40 Wing holes to #28. Place a #6 screw into the Wing Tips and screw into the nutplates K1000-06 as seen in Figure 1. Step 4, Drill #40 holes into each nutplate to attach AN426Ad3-4 rivets, and after deburring machine countersink the #40 and the #6 screw holes. Also using a #6 dimple die you must dimple the Wing Skins to receive a #6 screw. Time about 4 hours for both wings.
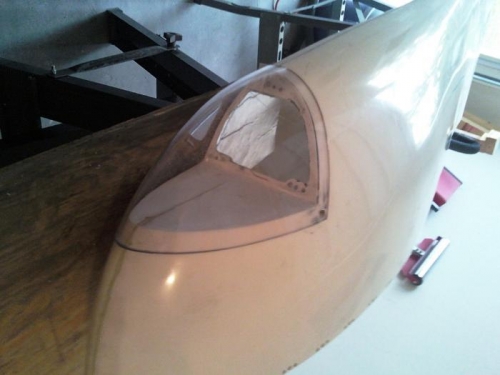
Also, I trimmed and fitted, and trimmed adn fitted and trimed and fitted the clear lens cover for both the left and rigjht Wing Tips.