
|

|
|
|
Conrads X-10 Build Log
|
Date: 6-5-2009
|
Number of Hours: 8.00
|
Manual Reference: Section 24, 2
|
Brief Description: WING TIP TOP and Bottom TRIM LENS MODIFICATION
|
|
6/5/2009 .. Wing Tips Section 24, Page 24-2, Steps 1 to 6. WING TIP TOP and Bottom TRIM, Step 1, I trimmed the edge of the Wing Tip W-1015-L using air rotary cutting saw the edge of the fiberglass at meeting location W-1015-L and Top and Bottom Aluminum Wing Skins W-1003 to ½ inches. Then checked for fit and trimmed as necessary again. Then trimmed the area where the Aileron meets the Wing Tip to just 3/16 inch. Also I checked the work when the Aileron was activated to its full position. LENS MODIFICATION, Steps, 3 to 5. The plan is incorrect in how to cut and install the Lens. I called Van’s technical assistance and asked them to clarify as the kit supplied a different VA-193-L . But after talking to Van’s I discovered that I was supplied with a newer, simpler to install and better VA-193-L part. I placed and then taped the Lens over the Wing Tip light recess area and trimmed with a set of “snipers” to 1/8 inch and then filled to obtain a perfect fit. Step 5, I #40 drilled the VA-193-L left Lens at the Upper and Lower recessed corners at 5/16 inches, see Figure 5. LENS INSTALL. Step 6, I match drilled #40 the Nut Plate attachment pattern into the corner recesses to attach the Lens with a #6 screw. I counter sunk the top of the Lens for #6 screws. Step 7 Install the hardware as shown in figure 5. Time about 8 hours for both left and right Wing Tips.
|
|
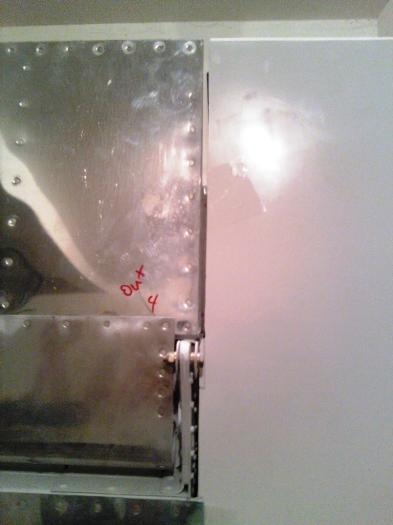
Checking for the 3/16 inch gap Bottom
|
|
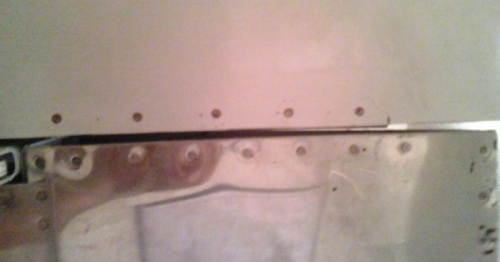
Again the 3/16" gap top side
|
|
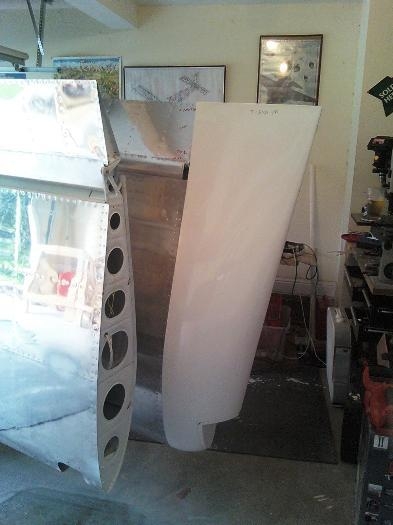
Checking the fit of the Left Wing Tip
|
|
|
|
|
|
|
|
|
Copyright © 2001-2024 Matronics. All Rights Reserved.
|