Section 27 Firewall … Page 27-2, Steps 1 to 4.
Step 1, I located all the called out parts. Then cleced the #40 holes in the F-1001K Recess box and final drilled the holes along with the 5, #30 holes in the side of the Recess Box where the rudder pedal bracket attaches.
Step 2, Dimpled the #40 holes for AN426AD3 rivets #3 and the 5 #30 holes for AN426AD4 rivets with the Factory or flush side toward the INSIDE of the box.
Step 3, Then I riveted the previously dimpled holes with the rivets called out for in Step 2. Although the plans called for AN426AD3-3.5 I found that after being set the shop side of the rivet was too long and folded or bent over when compressed so I drilled out the rivets and replaced with for AN426AD3-3.0 and they worked just fine.
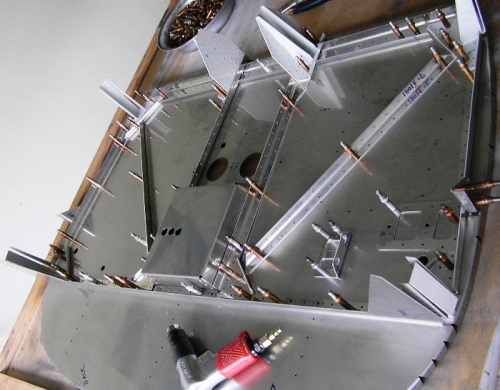
Step 4, Following the plan I clecoed all the following, F-1001B Upper Angle, F-1001C Lower Channel, F1010D Right Site Angle, F1010E L/R Center Angles, F-1001F L/R Diagonals Angles, (2) F-1001G Gussets, F-1001K Recess Box, F-1001M Left Side Angle, F-6122-1 Tri-Gear Brake Bracket, WD 1002 PC L/R, Upper Firewall Brackets, WD-1003 PC L/R Lower Firewall Brackets, the 2 F-1001J L/R Longeron Gussets and the WD-1004 Nose Gear Tension Fittings all to the stainless steel F-1001A Firewall Bulkhead assembly.
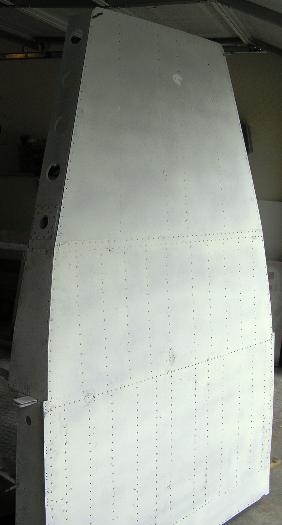
Also, because I am not yet finished I am continuing riveting the F-1077 and F-1076 Skins to the Ribs and Rib Stiffeners. Riveting time about 6 hours because of “back” riveting of the center ribs and stiffeners that I could not reach.
|