Brief Description: C-1003 L/R Front Window Gluing with Weld-On
SECTION 45-08
August 23rd 2010
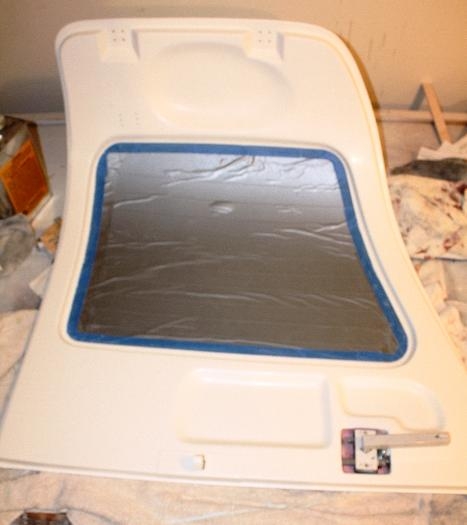
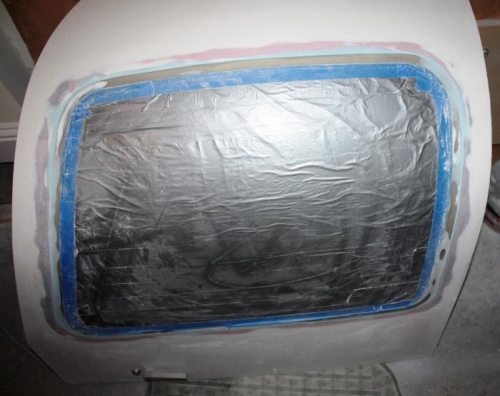
I am retrogressing but I wanted to wait until I finished the Doors priming and the inside painting with Jet Flex before installing the transparencies or A.K.A windows. Step 1, Trimmed with the multi tool the edges at the marked lines for the initial cut. Then wrapped both windows with Duct and Masking Tape over the factory shipped plastic to protest the acrylic glass from my mistakes during gluing, sanding and finishing. Step 2, Tested the fit and then trimmed to get with the 1/16 inch fit. Step 3, Sanded and rounded the edges with 220 grit sand paper to help prevent cracks. Step 4, After placing the transparency(s) in the doors I used blue painter tape to mask off at the edges of where the C-1003 L/R Front Window overlap the C-1002 L/R Door window recess. Then I scuffed the about 3 / 4 inch area with 220 grit sand paper in preparation for the Weld-On glue. Step 5, I did not use shims as I the fit seem very good without the usage of AN960-6 washers. Step 6, Placed the C-1002 L/R Door on my work bench and cleaned the C-1002 L/R Door window recess with acetone and after mixing up the Weld-On I applied a somewhat thin-to-thick layer and placed the transparency into the Door and placed weights onto the window and wiped excess glues and filled edges cracks with the remaining glue before the Weld-On set. The after 24 hours I used 220 grit sand paper and smoothed up the whole thing and added some Super-Fill followed by some Smooth pin hole filler to create the perfect edge.