Brief Description: Mount the Hinges and Drill the Doors L/R
SECTION 45-06
July 12, 2010
Steps 1 and 2 , I located all four hinges and cut the AN3-21A bolt to 1.66 inches in length. Step 3, After looking at figure 3 I identified the proper hinges for the Left and Right Hinges then placed into the groves in the top of the cabin. I cut six pieces of 1/8” or .125 aluminum spaces to fit between the hinges edges and the short wall edges of the cabin cut grooves. After checking the fit for both the left and right hinge and clamping thoroughly, I drill with a #12 bit ONE hole only in each hinge as described in figure 3. Then bolted with a AN509-10R16, AN960-10 washer and AN365-1032 nut. The as described I drew a reference line with a ruler between the edges of both hinges. This ensures a straight alignment of both hinges. Then I continued to drill the other holes and add the necessary hardware. Then after being satisfied with my work I unbolted both hinges and painted with a good quality paint to prevent rusting.
F.Y.I These hinges should have been made out of Stainless Steel or at least Power Coated because they are exposed to the elments. However I did paint them with a good quality rust preventive paint.
Time only about 1.5 hours.
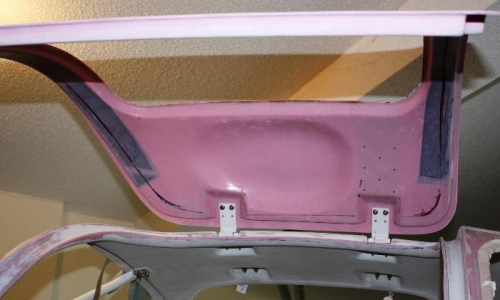
Pilots Side Door is Being Drilled and Mounted
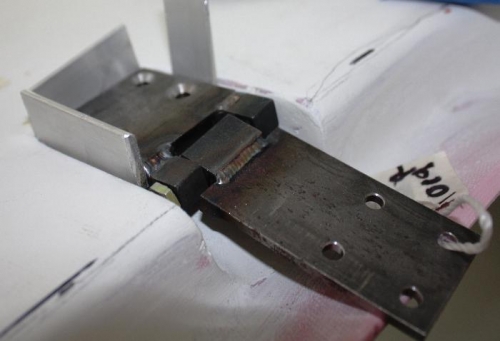
Fitting the Left Hinge Assembly
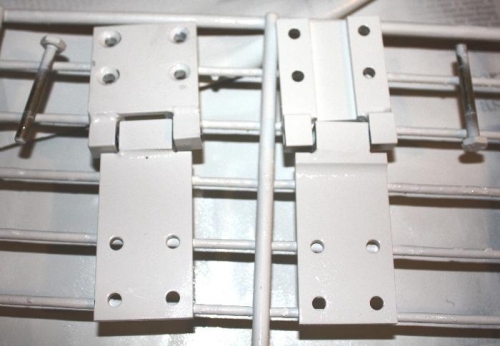
Hinges Painted to Prevent Rust (their just steel, not SS)