
|

|
|
|
Serenity
|
Date: 9-4-2008
|
Number of Hours: 4.00
|
Manual Reference:
|
Brief Description: Flap Assembly Attachment
|
|
This was cool - attaching the flaps to the linkage in the fuselage baggage area. So, a hole must be cut, fit checked, more enlarging etc. First step is to cut down the length of the hex rod and add the bushings (TIP - cut the rod equally from each end, as the tapped hole does not go in too deep. The rod ended up 5 1/4 "). After getting some tips of where to start from the Van's Air Force archives, I drilled 2 X 1/2" holes - one on the fuse side, one on the bottom, then cut the material inbetween. I then spent a couple hours enlarging the hole, checking the flap rod clearance by bolting it to the flap and loosely to the actuator. I would run the flap motor throughout its travel by connecting the wires to a 12volt cordless dril battery. After a couple hours, I had the hole sized for complete clearance. TIP - do a pencil rubbing of the hole oncluding surrounding rivets as a template for the other side to save a bunch of time. It was fun running the flaps up and down.
|
|
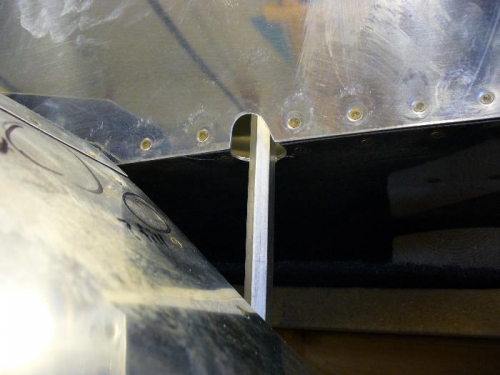
Starting point of flap rod
|
|
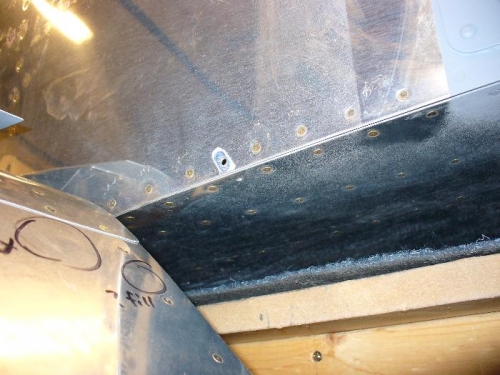
Finished hole - the rod moves fore/aft a little as it lowers, hence the bigger hole.
|
|
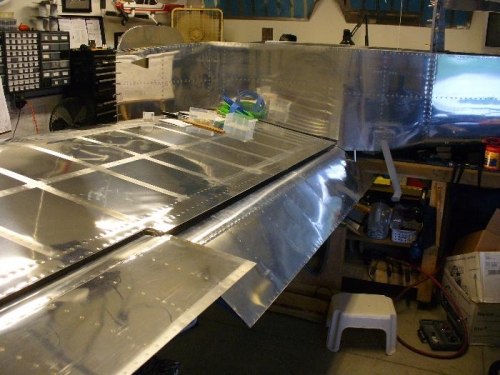
Flap in landing position
|
|
|
|
|
|
|
|
|
Copyright © 2001-2024 Matronics. All Rights Reserved.
|