
|

|
|
|
Serenity
|
Date: 7-19-2007
|
Number of Hours: 3.00
|
Manual Reference:
|
Brief Description: flap prep/drilling
|
|
Attached lower skin to left flap spar, drilled skin holes into table top, removed, then used a spade bit to cut holes so that clecoes later can fit yet have the bottom skin lay flat. I noticed the right flap lower skin would overlap fine except for the end ribs, so I marked and drilled those extra holes for later (table is only big enough for one flap, so I will be working on them separately for a bit). Next, I attached, drilled all the ribs to the spar, then clecoed the lower skin. The assembly was placed on the table so that the clecoes fit in all the 3/4" holes in the table top. Top skin was clecoed, boards and brick weights placed to hold flap flat. Nose skin was attached with a little difficulty (basically, I used a 3/32" punch to pull the skin to the corresponding hole in the spar. This will deform the hole and the surrounding metal a little, but I later go and squeeze this with the flat sets, and after dimpling, I find that it is difficult to find any deformation). Everything then drilled.
|
|
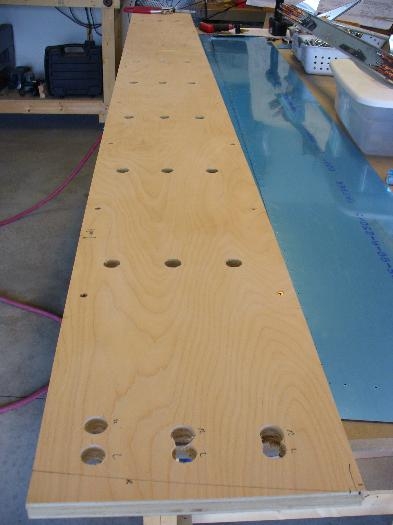
Tabletop with cleco clearance holes drilled
|
|
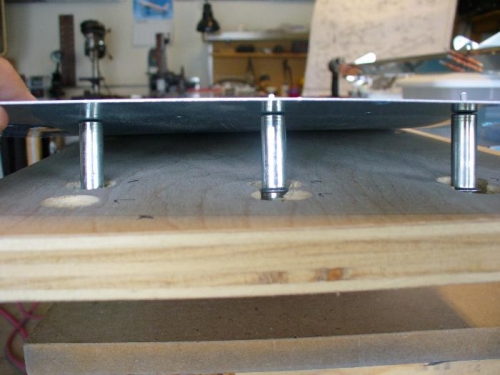
Laying bottom skin with clecoes so they fit into holes - pic just to clarify.
|
|
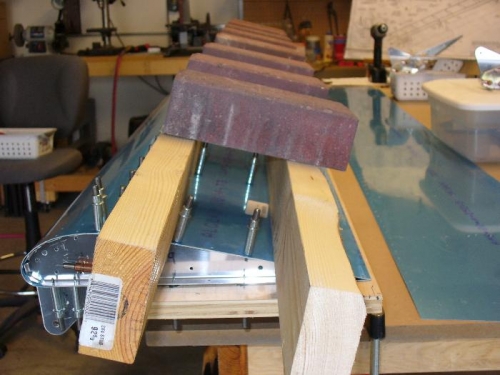
All skins on, weights on, drilled everything while flap held dead flat.
|
|
|
|
|
|
|
|
|
Copyright © 2001-2024 Matronics. All Rights Reserved.
|