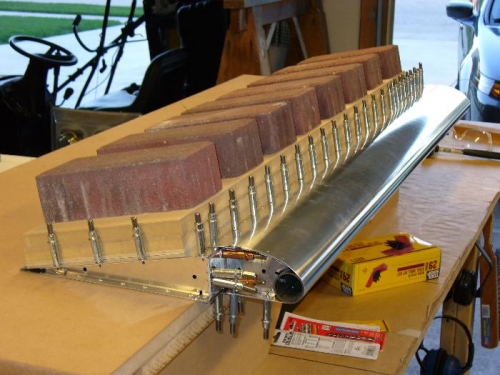
Fitted leading edge skin on. This was hard - bottom clecoed first, then I used 5 strips of duct tape spaced along the aileron to pull the leading edge top closer to upper spar holes. It took many times lre-applying the tape to get the skin holes to match - once one cleco went, then it was straight forward from there (see http://smittysrv.com/more_stuff.asp?ID=456 for the technique - thanks Smitty!) Now, it is important that this aileron be dead flat before drilling. My 8' bench is not exactly flat, so I used my two DRDT-2 support tables with a sheet of MDF to make a very flat surface. The aileron was placed on this overhanging the front. With the significant tension on the skins from the A-901A leading edge skin, the trailing edge is very wavy. After two MDF boards and some bricks "borrowed" from my neighbor (any weight will do - Van's recommended lead shot, but I have no idea in hell where to find that around here), the whole mess is perfectly flat.