
|

|
|
|
Serenity
|
Date: 10-28-2006
|
Number of Hours: 5.00
|
Manual Reference:
|
Brief Description: R Elevator build
|
|
Today was spent assembling the elevator. Elevator horn (the horn is the lever arm that the pushrods from the control stick attach to) was riveted, then the stiffners were back riveted to the upper skin. I set up some uprights (old HS jigs), clamped the lower skin to it, put in the rivets and rivet tape to hold them (pic 1), then folded down the upper skin to the table top. The back rivet plate covered the whole row - back-riveting took seconds. I would then unclamp, reposition so another row would be centered with the plate, reclamped, etc. Worked well. Next step was to rivet the upper skin to spar using the gun on one side and bucking bar on the inside - I could reach most of it, but I needed help in the middle, so a quick lesson to my son was in order. He shot rivets perfectly, no smilies, while I held the bar. We worked out finger cues to coordinate the gun zaps. Next step was to rivet the stiffners on the bottom skin - same technique as above. I also taught my son back-riveting - he did well. Last step was to rivet the bottom skin to spar. It would be close to impossible to rivet since the leading edge is enclosed now, so I used pop rivets. CS4-4's were placed in all holes (note - be careful folding the skin closed so as to not have the stiffners gouge the spar).
|
|
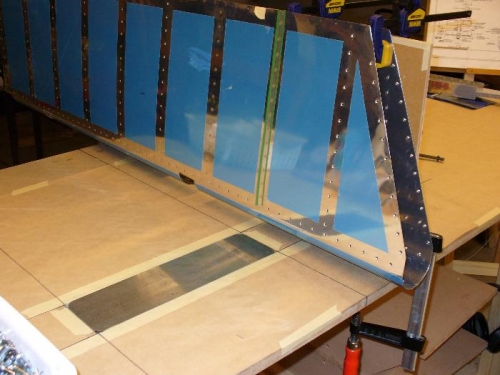
skin bottom clamped to uprights
|
|
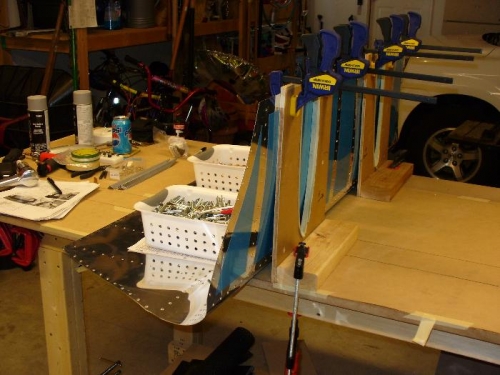
lower upper skin and back rivet
|
|
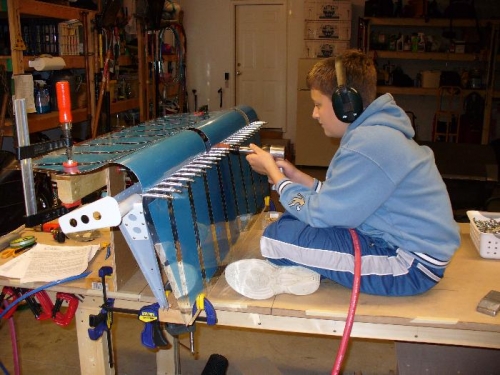
Austin helping rivet the skin to spar
|
|
|
|
|
|
|
|
|
Copyright © 2001-2025 Matronics. All Rights Reserved.
|