Brief Description: Cut the canopy to fit the rear and side bows
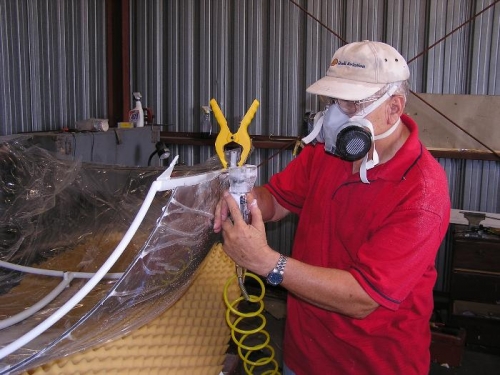
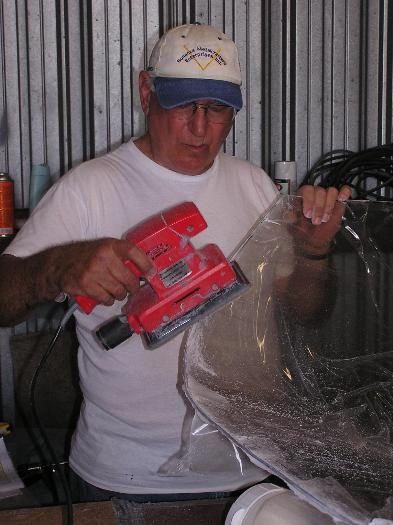
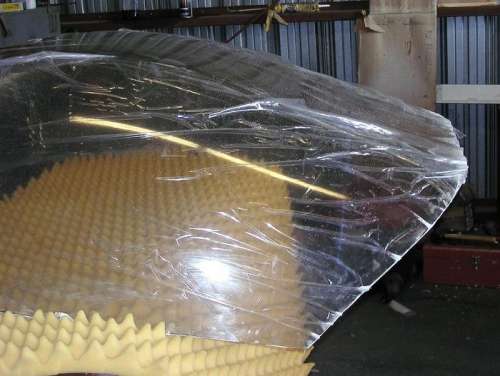
Today we drilled the hole for the canopy handle although I put it in yesterday's log since I can put only 3 photos is a day's log. We were very careful and practiced on several holes first. Then we took a dowel and sand paper and smooth its radius. We had to enlarge the hole some to let the handle fit. We then put the frame in the inverted canopy and clamped it in place and marked the side and rear bow. I then put on my Martian attire and made the cuts. Image #1 shows the frame in while making the cuts but I really made them without frame. Image #2 shows Claude sanding my cuts smooth. Image #3 shows the rear of the canopy after the cuts. It remarkably enough shows the racy look of an RV, don't you think? We decided we had done enough although we worked only about 3 hours. The tension is palpable while we are doing such demanding work. The next step is the BIG CUT, cutting the wind screen of the canopy. We decided we should do this while we are fresh so tomorrow is the big day.