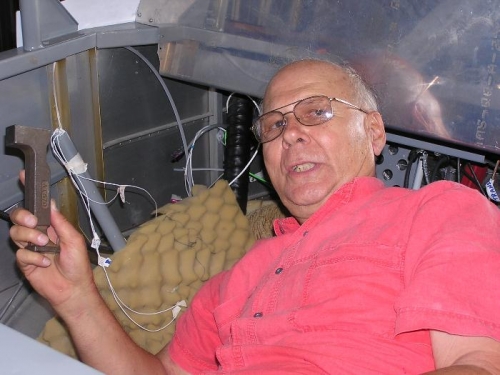
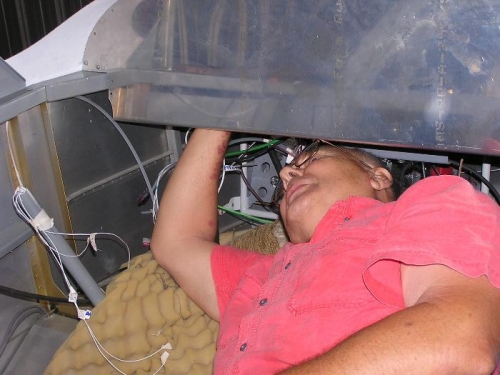
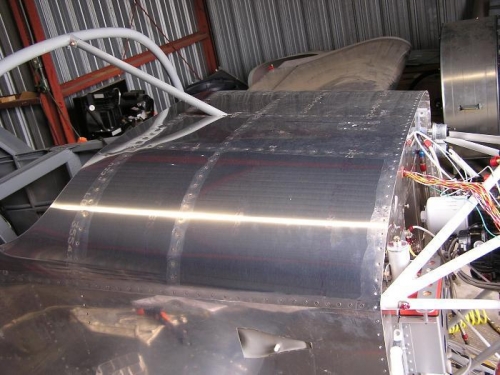
I woke up at 3 this morning thinking that the temporary panel would be wedged in by the tight skin after riveting so first thing when I got to the airport was to remove the panel. It came out without any trouble. SO, what do you think the 2nd. thing I did. You are right! I put the panel back and crawled under the panel to do some serious bucking while Claude set up the rivet gun. See Image #1 & 2. In the first 2 pictures, you can see that I had some foam and pillows piled up under there that helped but I was sore from yesterday so you can imagine going back under was not fun! The 7 #4 rivets up at the very front corners were the hardest to reach and I really had to get my whole chest and abdomen under the panel. We were afraid to take the temporary out so as to make the riveting easier for we feared that the skin would get deformed without it as a brace. We finally got All rivets bucked and riveted. As yesterday, all the rivets lined up and the skin was pulled down tightly against the lower skin. See image #3. Note also the roll bar and brace bolted in place and torqued. If it were a close up you could see the red finger nail polish that we use to mark our torqued bolts. Now that we have skin and roll bar in permanently and most of the riveting finished, we will be able to put our permanent panel back in! Then what we have dreaded will be next, the fitting of the canopy. I ordered my propeller today. It is a Sensenich fixed pitch metal cruise prop today. After talking to the folks at sensenich, I ordered it with an 81 in pitch.