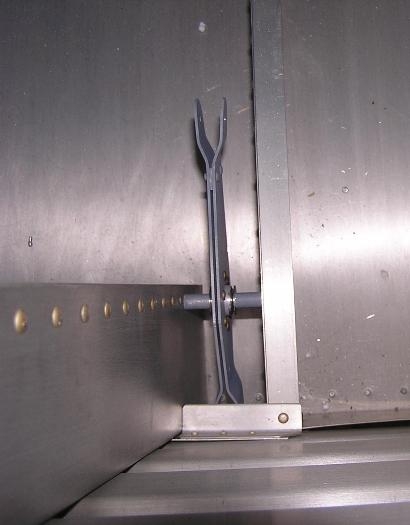
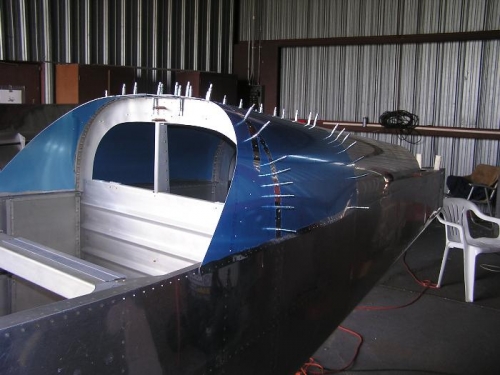
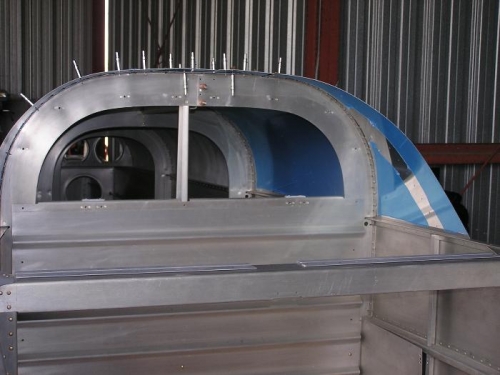
Brief Description: assembled & mounted elevator bell crank/Mounted af
We had made and primed the parts for the elevator bell crank yesterday. So today we assembled, riveted and mounted the bell crank. In Image 1 the perfect fit of the spacers, washers, and bearing. It is mounted just behind the largest bulk head & will be hidden as we mount the aft top skin. We did mount the skin today & had to change the flutes on the main bulk head to fit it. When we had a "perfect" fit, we clecoed the skin into place. We had to alter the "J" stringers as well for a good fit. In Image 2 & 3, you notice that we have left the blue plastic film in plalce to help prevent scratches until we get to the priming. ....... Now that all things fit well, tomorrow, we can ream all the hundreds of rivet holes and drill in assembly the J stringers. The skin will have to then be removed and each hole deburred and dimpled & then primed before being ready for riveting. There is still much to do but it surely looks good to see a new piece of skin in place!
Elevator bell crank in place
Aft top skin in place & fitted/Notice ALL the clecoes