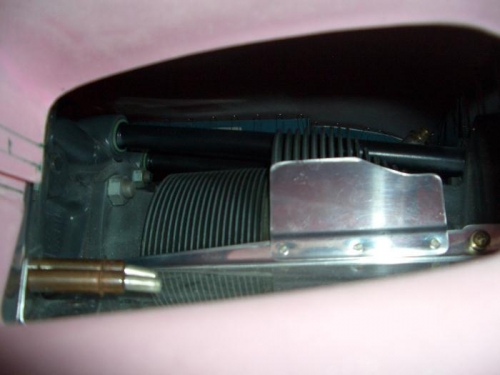
Ok, here is the real fun part of fitting the baffles. Now it is time to fit/trim the baffles to match the contour of the upper cowl. Vans specifies 3/8 - 1/2" clearance between the baffle and the cowl. Baffle seal material will later be added to fill the gap. If the gap is to large, the seal will fail, too small and the cowl may rub.
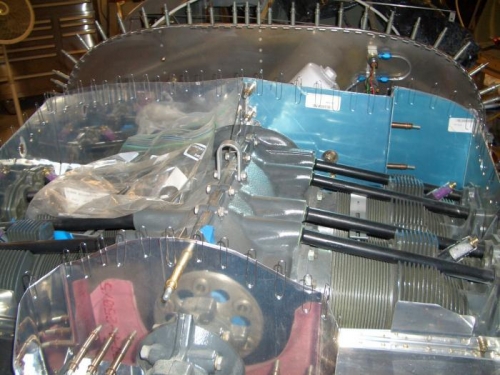
As delivered the baffle parts aren't even close to fitting the upper cowl. To determine how much to trim I used paperclips on the baffle and set the cowl in place. As is was, the baffles were way to tall so the cowl couldn't seat. I didn't take picture of each itteration. I did bother to keep count of how many times I put the paper clips on, fitted the cowl, pulled the cowl, marked a cut line, trimmed and started again. It was a lot either way and took quite a while. As I got closer to the final dimension I added more paperclips so I would have a better contour.
For now I left the upper cowl ramps out so I could reach in and adjust the paperclips if needed. I will have to contour the front section of the baffle more later.
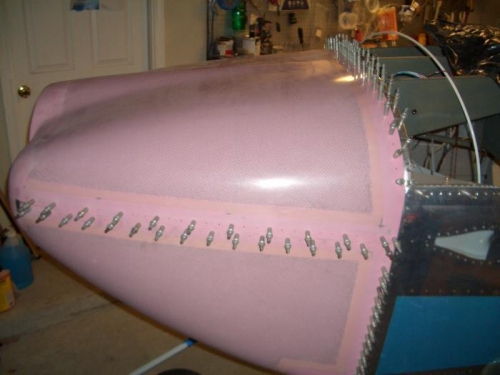
By the end of the day I was at a point where the cowl could be completely fitted on place. I still have to make one more trim to get the final clearance.