Brief Description: Tank Nutplates and Aileron Control Rod
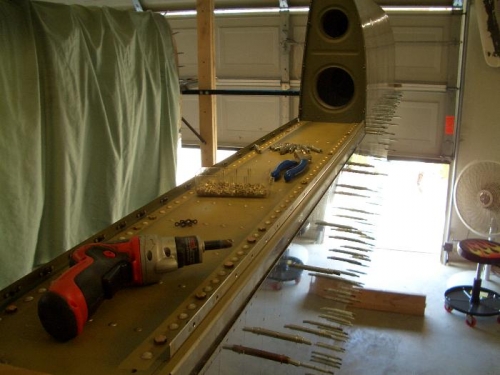
I drilled out the tank mounting holes from #30 to the final #19. I then installed all the tank nutplates on the forward spar flange and the outboard leading edge.
Once the nutplates were done, I removed the top wing skins and match-drilled the stub rib to the inboard aileron hinge mounting holes and the lower skin.
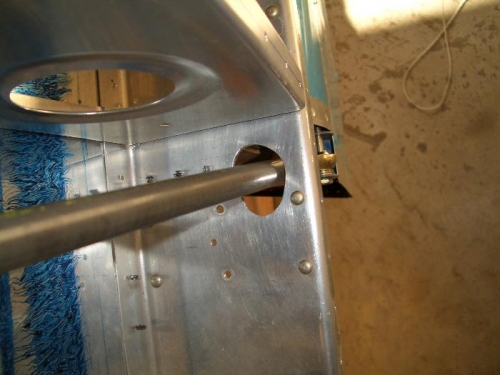
The next couple of hours were spent working the aileron control rod and the hole in the rear spar. I clamped the bellcrank in the neutral position. I used the airfoil template to hold the aileron in neutral while I measured the required length of the control rod. I then used various files to finalize the spae/size of the hole in the rar spar to give me about 1/8" clearance and the maximum deflection of the control surface (with no stops in place). There will be more clearance once the plane is rigged and stops installed.
After everything was fitted, I drilled, prep'ed, riveted, and painted the control rod. I really don't like the rivet method for attaching the rod ends. I may remake both the control rods later and weld the fittings in place.
After it was all said and done, I put the aileron in neutral and connected the bellcrank. The bellcrank was in exactly the neutral position without so much as a single turn of the rod-ends. I then smoothed and deburred the control rod hole (picture is before finishing)
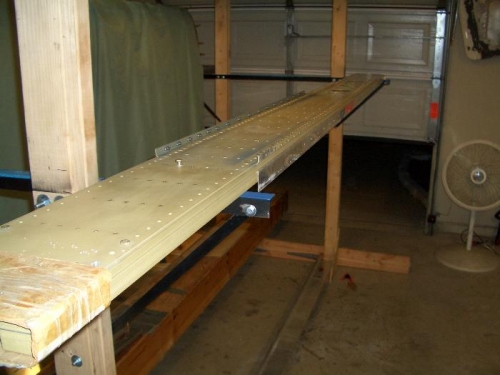
I then dissasembled the eintire wing and started the process of deburing and installing the aft tank nutplates in the main spar. The entire spar will get another coat of primer before assemble. I also shot a coat on before installing the nutplates.