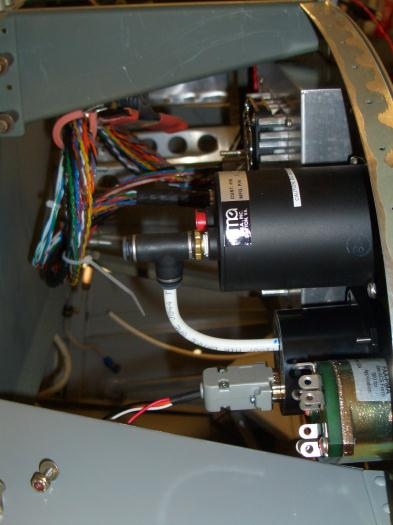
Today I put some of the instruments and the EFIS into the panel so I could start to figure out how to route the mass of wires behins the panel.
I had also been trying to figure out how to connect the MGL altimeter to my static system. The MGL uses a barbed push-on fitting while the rest of my system is quick-connect lines and fittings like those used on truck air-brakes. It turns out the the ID of the poly line just happens to be a perfect fit for the MGL barbed fitting. I formed a 90 degree bend in a section of tube using a bending mandrel and some heat. The polu tube is very stiff, so it needed to be pre-bent. I wouldn't do this on a brake system line since it probably made the line less resistenat to high pressure. Since the highest gauge pressure the line will see is 2-3 PSI I'm not worried about it.
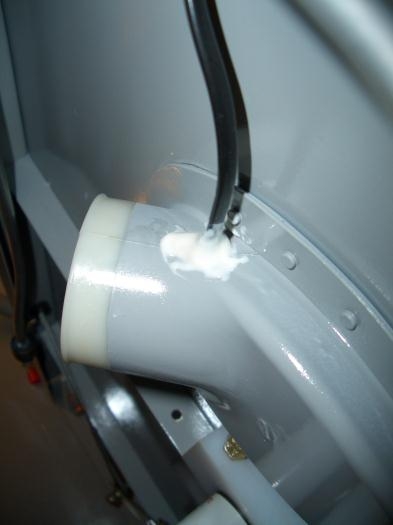
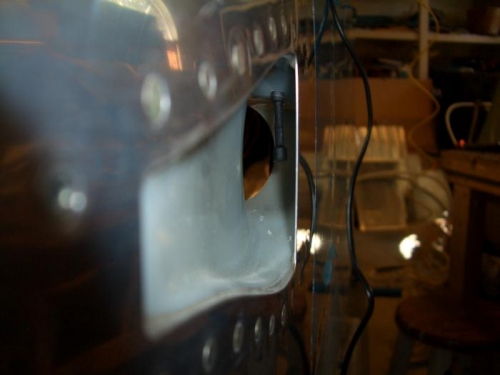
The MGL altimeter also has its own OAT sensor. I put the Dynon sensor in the tail under the stab. The MGL is just a backup so it is not quite as important (especially since the temp is only used for density alt). I decided to put the MGL OAT sensor in the cabin cold-air intake vent just a few inches away from the Alt. I drilled a hole towards the back of the vent (out of the sun) and epoxied the sensor in place so that it is centered in the airstream.