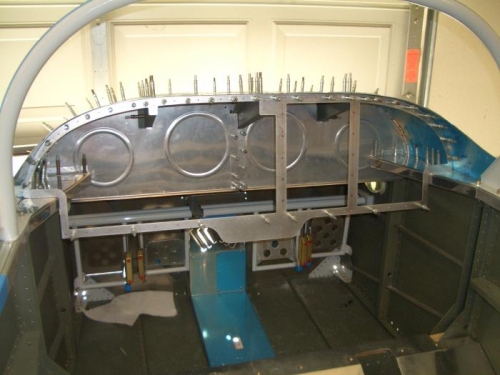
More work on the panel. Today I made the angle bit that attach the panel to the skin. The angle is notched and then bent to match the curve of the skin. I fit the angle to the skin and then back-drilled it to the panel.
I also laid out the hole pattern for attaching the angle to the bottom of the panel and attachinh the instrument sub-panels. A number of the holes will be drilled out for #8 screws and nutplates attached to the panel frame. This way the major portions of the panel can be removed separately. The radio stack mounts independantly from the other panel sections so the radios will not have to be removed to swap instruments. This will also give me access to the electrical once the forward skin is riveted on.
There is a piece of angle that will be riveted across the bottom of the panel. This angle stiffens the panel and also blunts the bottom edge to reduce injury if my legs were to impact the bottom edge of the panel.
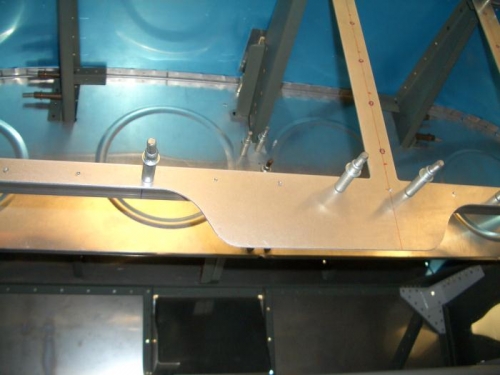
Angle pices drilled to the forward skin. The angle across the rails is a temp support.
Panel fitted and drilled in place.
Here you can see the angle attached to the bottom of the panel.