
|

|
|
|
Carl Bells RV7A N947CB
|
Date: 11-21-2007
|
Number of Hours: 7.00
|
Manual Reference: Laird Owens Dwgs
|
Brief Description: Fitting and shaping the CIP panel & attachement
|
|
I was not looking forward to the long tedious trimming and shaping of the CIP panel to the front deck. As per Lairds instructions-this just takes time…go slowly measure many times, cut once. As it turned out, it wasn’t all that bad. It took me about 3 hours to get it so it fit without a gap, and I was happy with it. I used a little model belt sander which did a nice job. As it is turns out, I had more difficulty cutting and shaping the attach angles. I will put nut plates on the angles for the attach screws. Laird bonds all this in place and it may be a better way, but I wanted to be able to remove the CIP if necessary. This may never happen, and it may be next to impossible to get it out without damage, but I just like screws and rivets in this application. I still need to make the cut outs for the sub-panels and install the nut plates for attachment. The nice thing about this layout is the sub-panel concept. If you make a mistake on one of the three panels, it is no big deal to make a new one. Also, when adding new equipment, or if you need to get behind the panel, it is an easy operation and more manageable then pulling the entire panel. The other thing I like about this panel besides the beauty is the canted panels for better reach and viewing. This just makes sense for the new glass EMS systems and GPS units with their Lilliputian screens. I hope Garmin reads this! ;-)
|
|
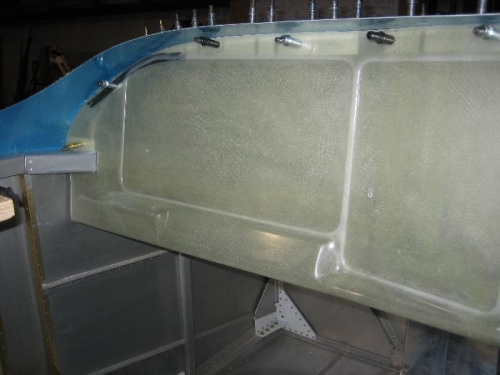
Left side fit to the deck
|
|
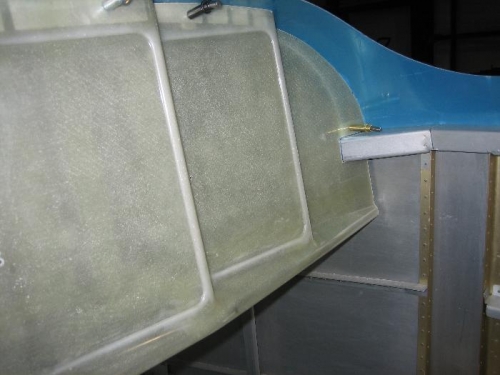
Right side after much sanding
|
|
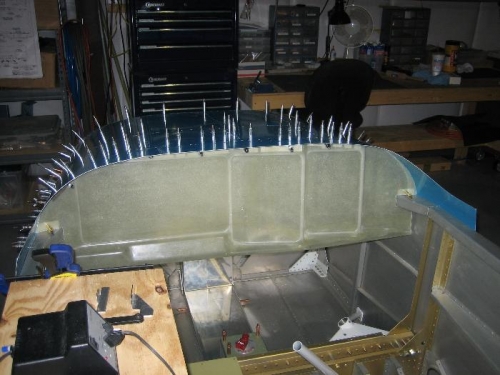
Panel an most attachments in place
|
|
|
|
|
|
|
|
|
Copyright © 2001-2024 Matronics. All Rights Reserved.
|