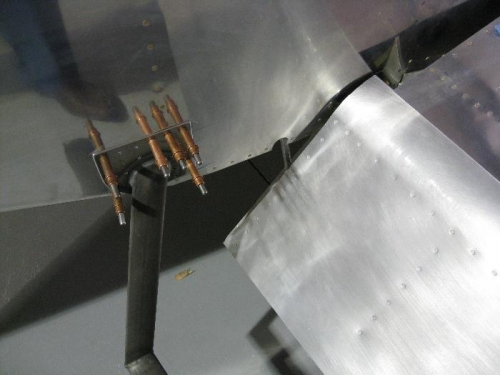
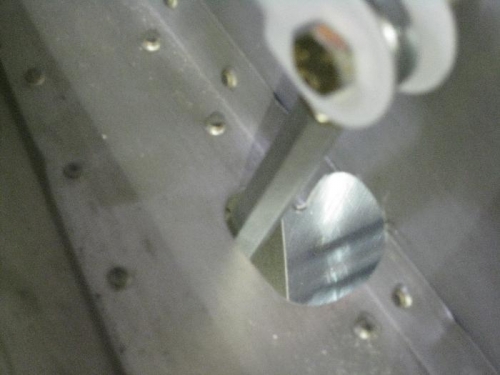
This is a trial and cut operation, but it is no big deal. Mount the flaps and screw in the ball joint on the flap. Crawl under the the planes and see how wide the hole needs to be and mark it with a "Sharpie". Drill the hole with a Unibit a to match the width marked and then open the hole with a die grinder and a cutter or sanding drum about 1/2" in diameter. From there just keep raising and lowering the flap and see how much clearance you need and take out material as required. As a caution, do not cut off flap skin material until the steps are clecoed in place and you decide the gap required to make it all work and look right.