Brief Description: Drilled Left Flap Hinge to Wing
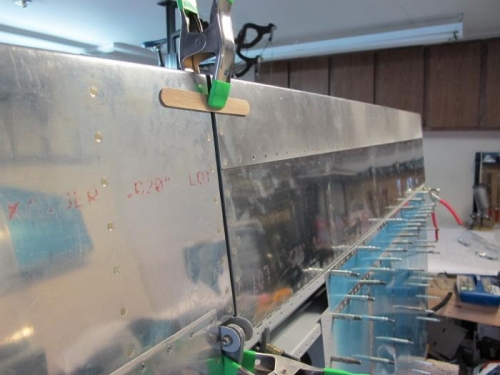
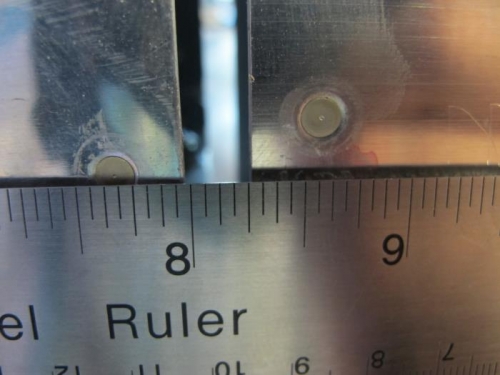
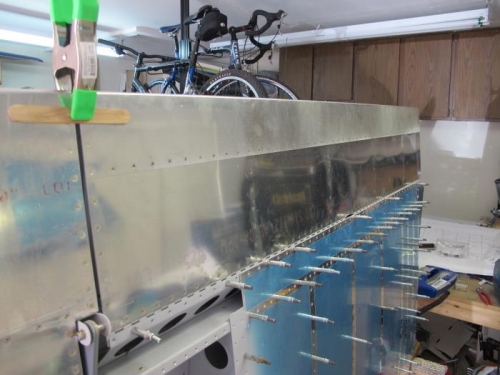
I read a few build logs where builders used several "oops" rivets to attach the flap brace to the skin while fitting the flaps. Several of the smaller rivets are added between the prepunched rivet holes and the flap brace is counter sunk for the head while the skin gets the shop head. Once the flap and hinge is fit, the oops rivets are drilled out and the skin is countersunk for the head. A new oops rivet is then inserted (with the manufactured head on the skin this time) and squeezed. Once again, Mr. Checkoway is given the credit for the idea. I usually try to follow his lead, but this time I just "winged" it. I inserted rivets with the flat head on the brace and the tail protruding through the wing skin. The tension kept the brace and skin together and no new holes were drilled. I lined up the flap with the aileron, checked the gap and trailing edge alignment, clamped it in place and began to drill and cleco. I had previously marked the mid-line of the hinge with a blue sharpie and I could see it through the wing skin holes. No problem with edge distance, thankfully. Hope the right wing is the same!
I spent the rest of the morning washing and detailing the Porsche and placing a for sale ad on-line. I need to make room in the garage for the fuselage!