Brief Description: Tie Down Brackets, Bellcrank Brackets
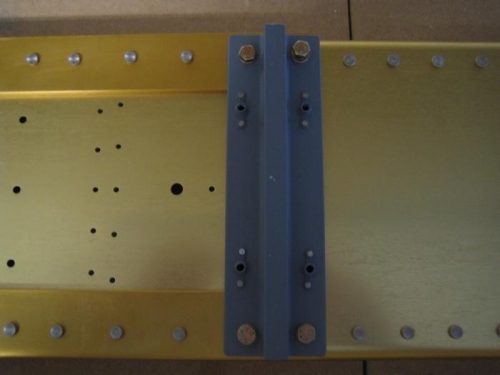
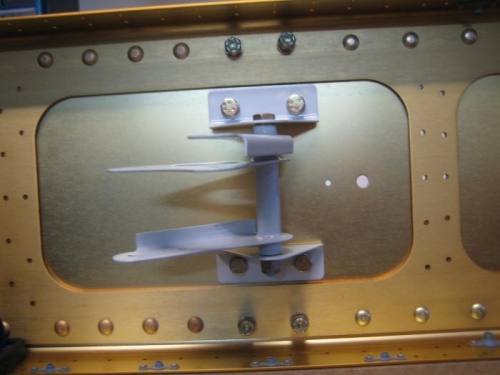
Rough day "at the office." Few things seemed to go right on the build today. I used a borrowed #28 drill to finish the access plate nutplates on the main spars. So far, so good. I used a one inch hole saw to drill the lightening holes in the spacers for the tie down brackets. It walked on one of the brackets and made a jacked up looking hole. I reminded myself that I'm not building a watch and that it's only a spacer. I taped the spacers to the spar and then put the tie down brackets on. I clamped it and backdrilled it. The holes in the bracket looked ok but the spacers were again a little jacked up. Oh well, they are just spacers. I labled everything Left and Right and Top and Bottom and prepped them for priming. I carefully placed the parts to maintain the correct orientation and shot them with Napa 7220. I walked into the garage and I heard a noise outside. I immediately knew that my just painted parts were in the dirt. Fortunately, the paint was dry but unfortunately my orientation was out the window. I matched them up and thought that I had it all correct. I should have clecoed them to the spar before I riveted the spacers to the brackets. When I attached them to the spars, the spacers on one of the brackets was too wide to fit between the doubler on the spar. The holes lined up so out came the Dremel with a cutoff wheel and I trimmed the spacer down to fit. I assembled one bellcrank bracket without any problems but the second one will not turn freely in spite of "polishing" the brass insert and filing the edges of the bracket. After four attempts, I quit for the night.