Brief Description: Comm and Xponder Antenna Installation - continued
With help from Ken, completed riveting the doubler plates for both comm antennas and the transponder antenna.
• First, test fitted each antenna to make sure nothing has changed and the antennas attach with no clearance issues. • Clecoed the doubler plates to the interior belly skin, ensure plate orientation is correct. • Countersunk the rivet holes in the outside skin for each doubler plate to install AN426 rivets. • Using rivet tape, secured the NA426 flush rivets through the skin into the doubler plate. • Bucked the rivets to secure the doubler plates, repeated for the second comm antenna and the transponder antenna doubler plate - 30 rivets total, 12 per comm antenna, 6 for the transponder. There is no way any of these antennas are coming off unless the landing gear departs first.
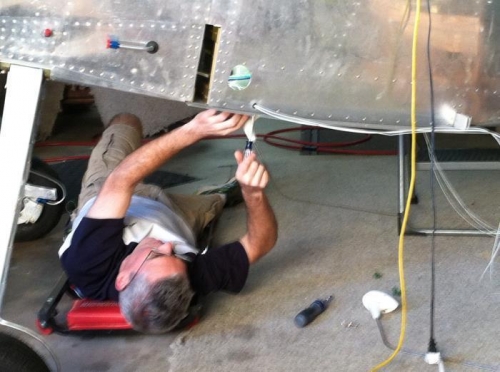
Attaching Antenna for fit confirmation
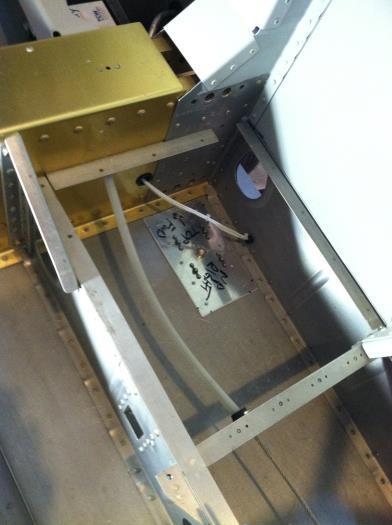
Comm Antenna doubler plate riveted in place
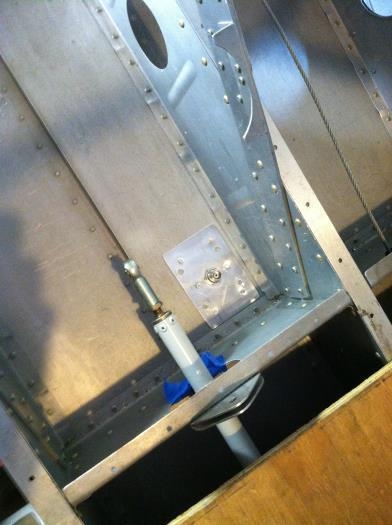
Transponder antenna doubler plate riveted in place