Brief Description: Elevator horn drilling; tail removal
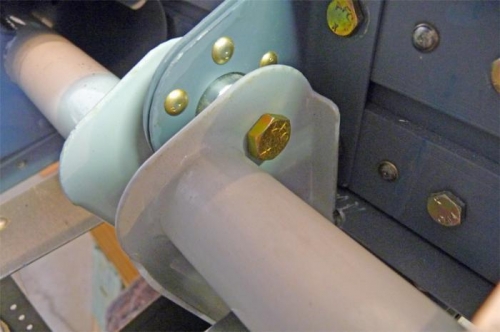
Today I enlarged the bolt holes thorugh the elevator horns for the center bearing bolt, then mounted both elevators and checked the hole alignment by installing an AN4-17A bolt. It turned out better than I ever could have hoped. Sweet!
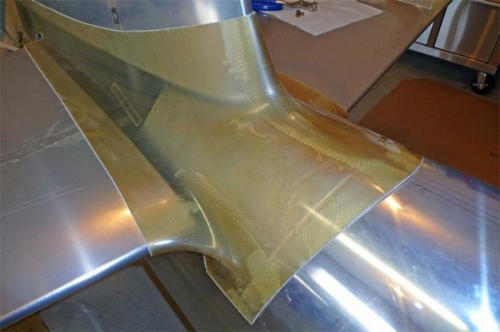
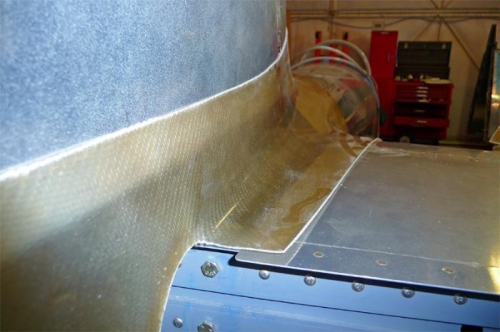
Before disassembly, I decided to test-fit the empennage fairing I bought a few months ago from Fairings Etc. The fit was very impressive right out of the box. It looks like it will require very few modifications.
The main part of the empennage installation is now done, so I removed the entire tail assembly from the airplane. I carefully bagged and labeled the various bolts, washers, and nuts so I can identify them later. All the tail surfaces will now go back into storage for a while.
I removed the elevator "up-stop" angle and began sanding it and cleaning up the rough edges. I also vacuumed the fuselage out and ran a magnet-on-a-stick down into the nooks and crannies of the aft fuselage. It was amazing how many steel shavings I got out of there.
Elevator horns bolted through the HS center bearing.
A test-fit of the tail fairing. I'm pleasantly surprised at how well it fits already!