I finished the installation of the flap motor wire tubing. In order to avoid squishing the tubing between the motor and the bottom of the armrest when the flaps are in the "up" positiion, I had to rearrange the Adel clamps a bit. Added an Adel clamp under the floor supports to lock the tubing into position. Notched the floorboard where the tubing goes through the floor. The flap wires will be tidied up and connected much later.
Now, the tubing does not touch anything as the motor moves. Cool!
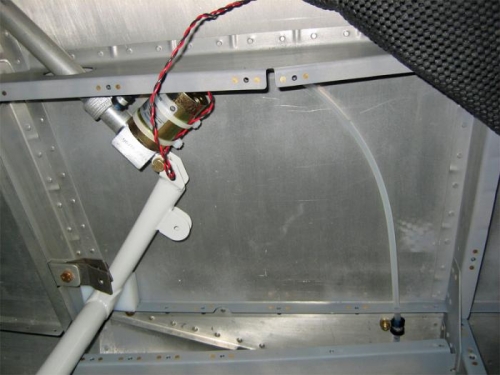
Flap arm, motor, and tubing in the UP postion.
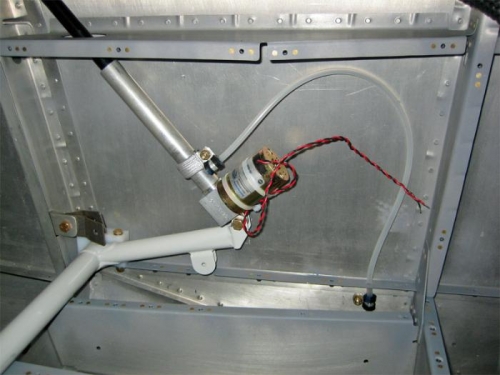
Flap arm, motor, and tubing in the DOWN position.
Flap cover in place, showing the larger seatbelt notch I cut the other day.