
|

|
|
|
Buck's RV-8
|
Date: 9-16-2007
|
Number of Hours: 2.50
|
Manual Reference:
|
Brief Description: Cockpit side console
|
|
I made good progress on the right side console today. I finished fabricating the two aft attach angles and drilled/clecoed them in position on the inside of the console. Then I clecoed the console to the instrument panel. In order to get easy access to the underside of the console, I flipped the fuselage upside down and sat on a stool under the cockpit. With the console held in exactly in its final position, I taped its attach angles to the right channel cap. Then I righted the fuselage and un-clecoed the console from the attach angles, leaving just the angles behind. Now it was easy to drill and cleco the angles to the channel cap, in exactly their proper final position.
Initially, when I designed the console, I'd planned a gap of about 1/8" between the console and the wall. Later in the process, I changed my mind and was able to tighten up the gap to less than 1/32", everywhere except along the forward side of the channel cap cutout. To fill the gap and keep everything looking consistent, I made a small strip of 0.032 and drilled it for four flush rivets. I dimpled the console and the filler strip, and primed the strip. It will fill the gap nicely.
Finally, I drilled most of the console attach angles for their platenuts.
|
|
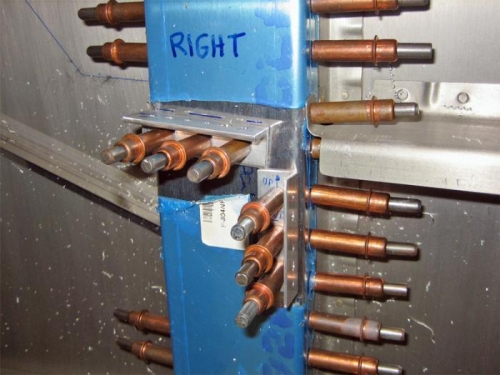
The two mounting angles on the vertical channel cap.
|
|
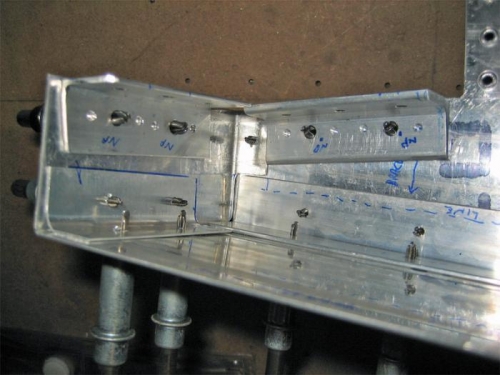
Here's where the two angles attach to the console itself (top left and top right).
|
|
|
|
|
|
|
|
|
Copyright © 2001-2024 Matronics. All Rights Reserved.
|