
|

|
|
|
Buck's RV-8
|
Date: 12-21-2014
|
Number of Hours: 4.60
|
Manual Reference:
|
Brief Description: Flap rods and rod holes
|
|
Time to start connecting the flaps. I began by removing the right flap and connecting the ball end of the flap rod to it. This was much easier said than done. The drawings are in conflict. Drawing 14B shows that there is a nutplate inside the flap that holds the rod end bearing. Drawing 26 shows that you must use a AN364 nut. My flaps have no nutplate in them, and thus began the long process of getting a nut into a nearly-impossible location. 90-degree angled needle-nose pliers were the only way to hold the nut as the bearing was turned. I had placed one washer under the bearing, but it turned out more were needed (see below), so after another lengthy session with the needle-nose pliers, I added another regular washer and a thin washer. This is all that I could add, even with a thin nut, in order to have some thread showing.
Next, I mounted the flap and began filing away the edge of the flap rod hole. After at least a dozen iterations, it became apparent that the rod end bearing on the flap is still not far enough out from the flap (inboard) to give me the required angle for the flap rod. I cannot file much more off the top end of the hole, or the hole will interfere with the flap fairing. I think I will call Van's and see if a longer 1/4" rod end is available or acceptable.
|
|
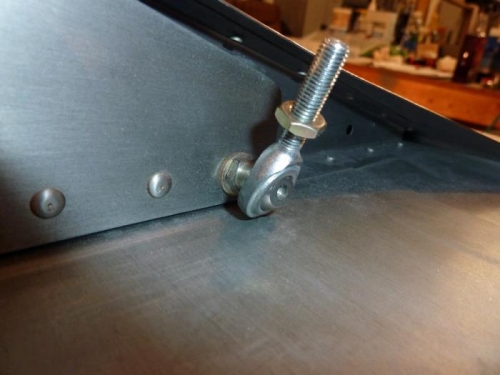
Rod end bearing, finally attached to the flap (for the first time).
|
|
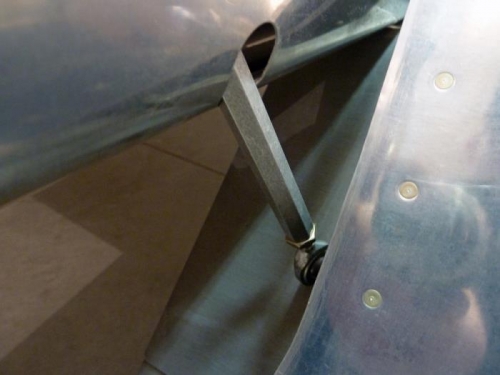
Initial test-fit of the flap rod. Lots of filing to do.
|
|
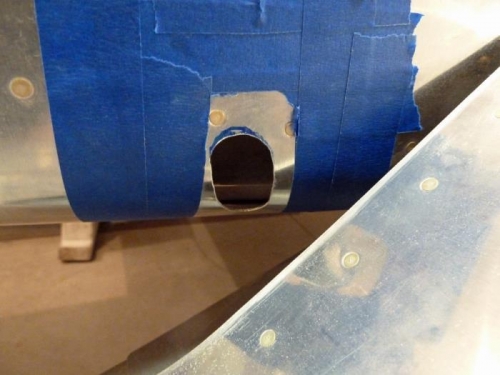
After opening up the hole a bit. I need to go up, but I can't go much further that way, unfortunately.
|
|
|
|
|
|
|
|
|
Copyright © 2001-2024 Matronics. All Rights Reserved.
|