
|

|
|
|
Buck's RV-8
|
Date: 1-9-2015
|
Number of Hours: 2.10
|
Manual Reference:
|
Brief Description: L flap trim; R flap fairing
|
|
Tonight I trimmed the left flap to match the fuselage skin, and also filed the lower corners on the flap skins so they don't poke me someday when I'm cleaning the belly of the airplane. I also managed to shorten the right flap rod an additional turn. (Every little bit helps, since the right flap is a bit lower than the left one).
Then I began fitting the flap fairings, beginning with the right one. It's going to be more challenging than the left one, because of the slight droop of the right flap. Because of the difference, the flap fairing did not lay completely flat underneath the wing root gap seal. The fairing is non-structural, and the forward 2" of it could actually have been simply cut off, but I wanted it to match the left one, at least in outward appearance. So I notched the fairing and put a slight bend in it, and now it fits great. Later, some SuperFil and sandpaper will make the notch disappear.
By the way, I love how the Van's manual says that you can simply "massage" the fairing to fit, with your hands. YOU try putting a 4 degree bend in a piece of aluminum angle with your hands... Go ahead.
|
|
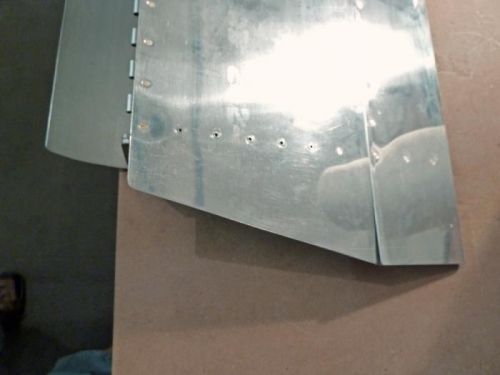
L flap, trimmed to match the fuselage.
|
|
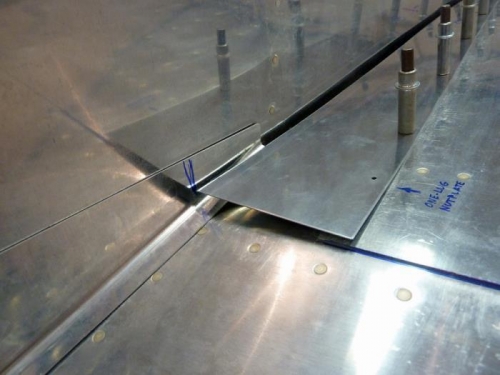
The mis-fitting R flap fairing, and the way it was llifting the wing fairing.
|
|

My solution to the mis-fitting flap fairing. The notch will diasppear later.
|
|
|
|
|
|
|
|
|
Copyright © 2001-2024 Matronics. All Rights Reserved.
|