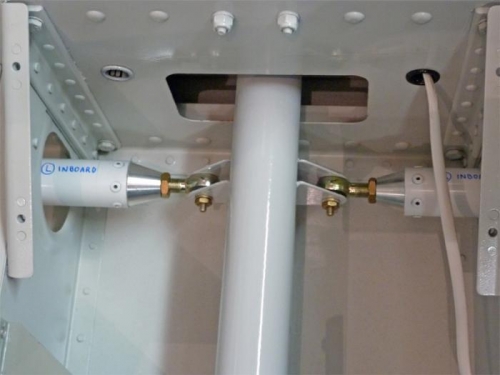
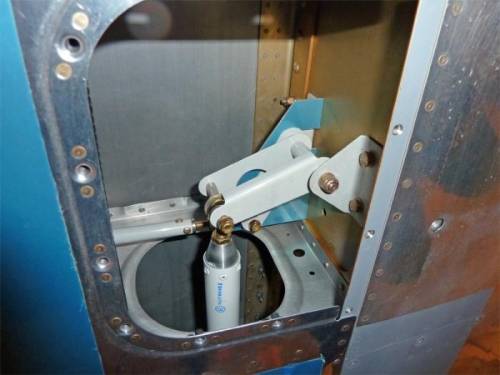
Today I installed the aileron pushrods in the wings. The first thing I did was to adjust the bearings so the overall pushrod length was exactly the length called for in the plans, and made sure the bearing orientation was correct (90 degrees apart on each end). Then I fed the pushrods through the wings from the tips. I attached them to the central control column with temporary hardware. In each wing, I ensured the aileron bellcrank jig was installed correctly (flush against the spar) and adjusted the large pushrod length to fit. Next, I clamped the right aileron in its neutral position, lining up the tooling holes in the end rib and the aileron trailing edge as depicted in the plans. Then I installed the smaller pushrod from the bellcrank to the right aileron. I managed to shorten the pushrod slightly, which raised the aileron slightly, which is a good thing in my case. This will allow the right flap to come up a little bit, which is what I need.
Aileron pushrods temporarily attached to control column.
Aileron bellcrank in right wing, with pushrods attached.