When pulling new parts out of the box, I typically debur all edges prior to doing anything else.
After deburring, I will peel the acrylic off (pictured), cleco everything together, and match drill the rib to spar holes to #30 and the skin to spar holes to #40. The aluminum spar is very shiney when the protective plastic is removed. This doesn't last for long due to finger prints and superficial scratches that naturally come when working with the parts.
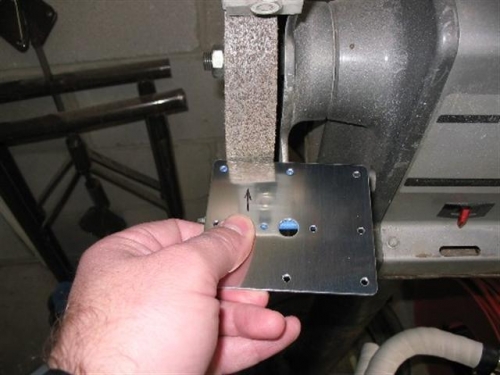
Using a Scotch Brite wheel on my bench grinder, I polish up the edges of the hinge reinforcement plates. Note the arrow tells me which direction is up whenever I re-attach it to the rudder spar.
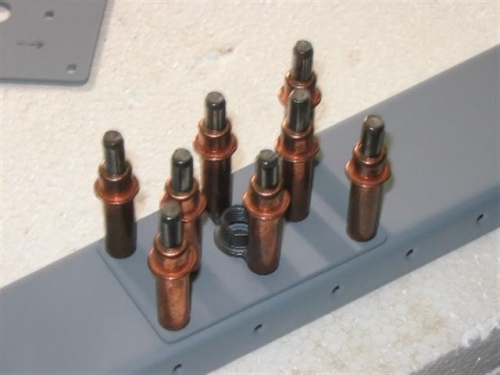
The top reinforcement plate with the plate nut is clecoed in place and awaiting rivets. Note that the reinforcement plate is mounted on the back side of the spar. It will be hidden from view once the skins are installed. Also notice that the gray primer that I am using is NAPA 7220 self etching primer that comes in a rattle can.
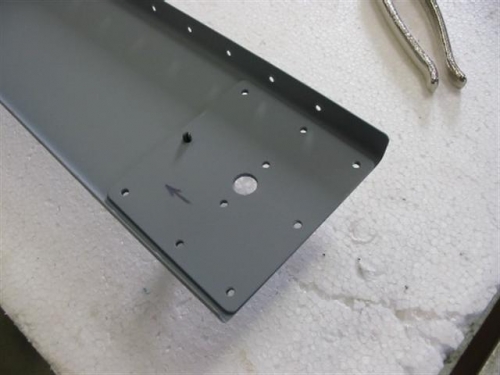
The bottom reinforcement plate is attached on the front side of the spar due to the fact that the bottom rib, rudder horn, and other parts attach to the back side of the spar in this location.