Brief Description: Removing acrylic from horizontal stabilizer
Most of the aluminum parts in the empennage kit are covered with a thin blue acrylic/plastic sheet to protect the aluminum from getting scratched. Recall that vibration + scratches = cracks. If the crack is in a structural area, structure fails, and airplane accelerates towards the ground very quickly with pilot and passenger screaming until remaining structure touches earth.
The big idea here: Keep as much of the aluminum protected with the acrylic for as long as possible to prevent scratches.
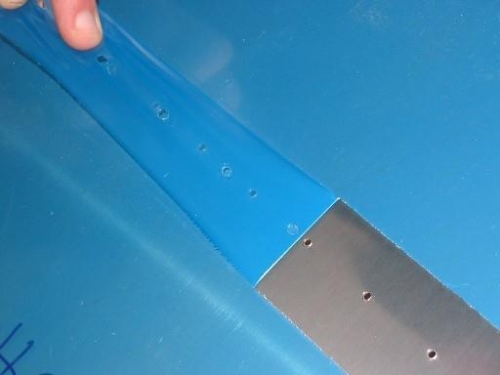
Using a hot soldering iron, I gently drag it along the surface of the acrylic using a straight edge as a guide. After I melt the line on each side, I peel the acrylic away from the material so that I can deburr and dimple the aluminum. I was careful not to put too much pressure on the soldering iron because it is definitely capable of scratching the aluminum surface. Come to think of it, looking at aluminum wrong causes scratches too. In other words, scratches in the aluminum do and will happen. As long as the scratch is not too deep, it can be buffed out.
Blue acrylic on aluminum sheet
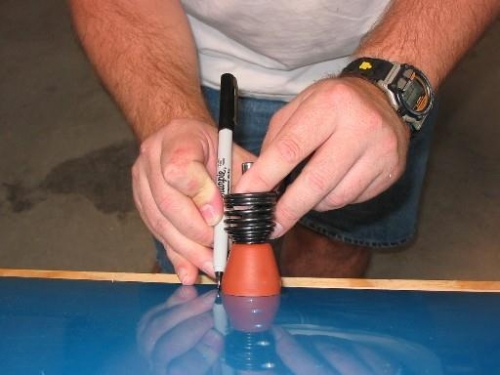
Using the flush rivet set to determine the width of acrylic to remove
Peeling the acrylic away after melting lines with soldering iron