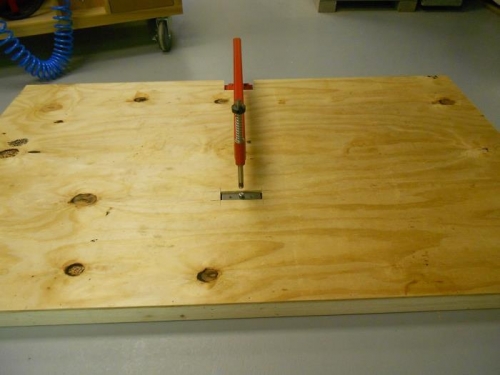
I attached the plywood top the the structure using a brad nailer and test fit the C-Frame. Looks good to me!
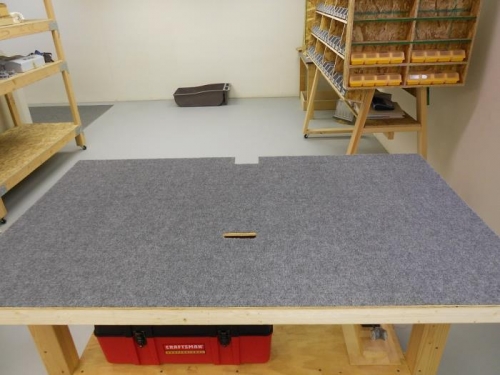
I cut an over-sized piece of indoor-outdoor carpet and set it aside on the floor. I removed the C-Frame from the table and sprayed adhesive to the top of the table.
I turned the table upside down and placed it on top of the carpet making sure there was an overhang all the way around. I placed my toolbox and some other items on the table to weight it down while the glue dried. I let it sit for a few hours to make sure the glue set up good.
After a few hours, I turned the table right-side up and trimmed the carpet flush to the table with a sharp knife. I also cutout the carpet where the hole was located for the C-Frame base block.