Brief Description: Sanded, added fibergalss, attached side skirts
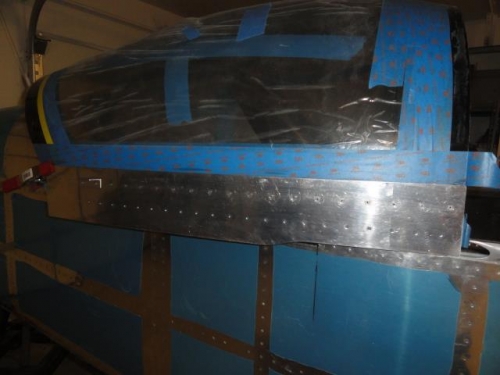
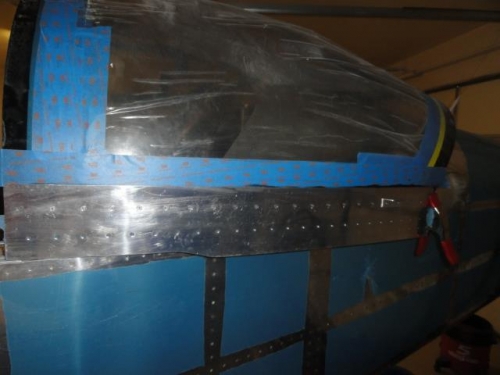
Did some sanding on the micro I put on yesterday. Also, tried out the new Black and Decker Mouse sander I bought yesterday. Wish I'd had it before. Sanded the fiberglass primarily going over the roll bar and along the side to smooth out everything. Added one more piece of 3" wide tap over the roll bar and down the sides in one big piece. Should work out well. Added a couple small pieces of fiberglass to the upper cowl engine air openings on the insde area to keep buiding up to make a better fit.
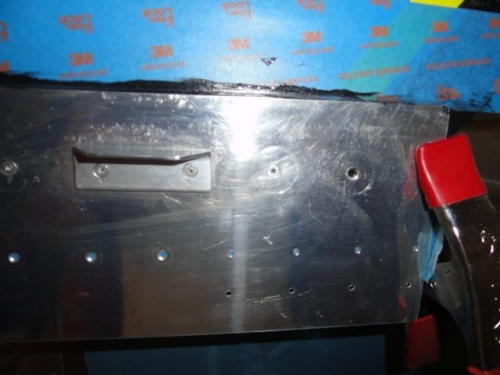
Prepared the side skirts for gluing and riveting on. Sanded the insides where the primary and glue go. Countersunk the holes for attaching with rivets to the sides of the canopy frame. Dimpled the bottom holes for the skirt brace. Used the mouse sander to smooth everything out on the canopy frame where it's glued to the plexiglass. Fabricated a couple pieces of aluminum aangle toe use as canopy lift handles at the back of the canopy. Cleaned the skirts and the sides of the canopy with Sika Activator, applied primer, and then glued the skirts on. Initially just clecoed in place but then gradually put in the blind rivets from the skirt to the canopy side frame. Had to drill the holes deeper at the very front and very back holes on each side which is wher they go to a welded junction between the side frame and the hoops. Unfortunately I broke a drill bit off on the left rear hole but for now just clamped it there to hold it. Will try to drill it out later if possible. Not sure what I'll do if I can't drill it out.