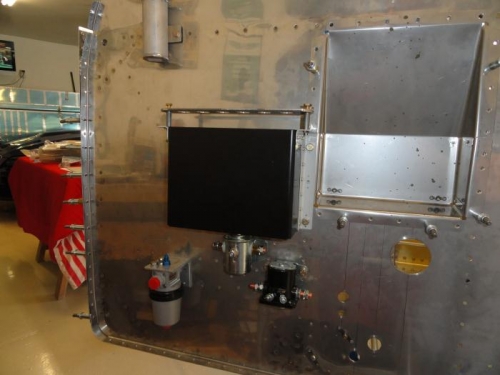
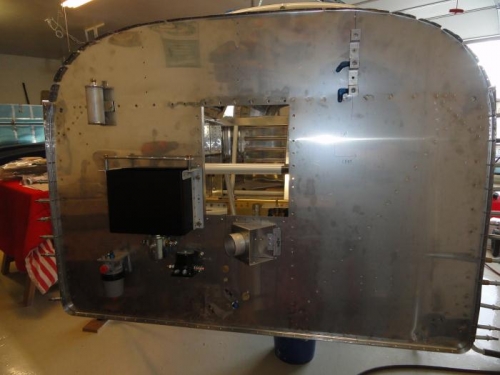
Finished attaching master relay and starter relay. Fabricated battery box hold down brackett and drilled lightening holes with a step drill. Measured and drilled holes for battery box mounting bracketts. Deburred and dimpled all holes. Riveted bracketts onto battery box. Decided not to put lightening holes in battery box based on some postings on Van's Airforce Forums which said Odyssey Battery makers recommend having the full metal jacket around their batteries. Cut two spacers for hold down brackett. Installed platenuts for hold down bracket. Also installed platenuts for battery box attachment brackets but instead of putting them on Van's way I installed the platenuts on the firewall angles so the battery box could be bolted in from the front instead of the rear in case I would ever need to take the battery box off. Temporarily mounted battery box, will permanently install several items when all firewall items are ready for final assembly with RTV, or in this case the 3M fireproofing caulk I bought from ACS. Measured and drilled holes for mounting the heater box, fits perfectly, and temporarily mounted it. Screwed in fittings into the transducer block for oil pressure and fuel pressure.. Inserted brass plugs in unused holes. Used thread seal on all fittings. Located and drilled holes for mounting the transducer block. Also drilled holes in F7107L which the transduer bolts to. A good day of progress.