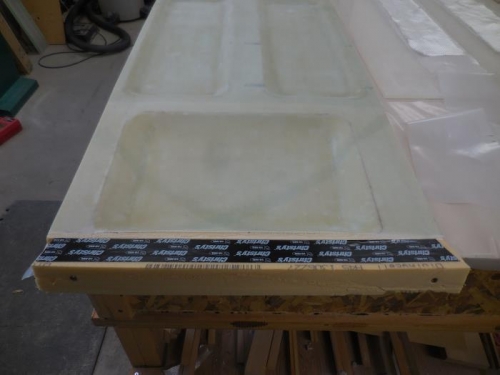
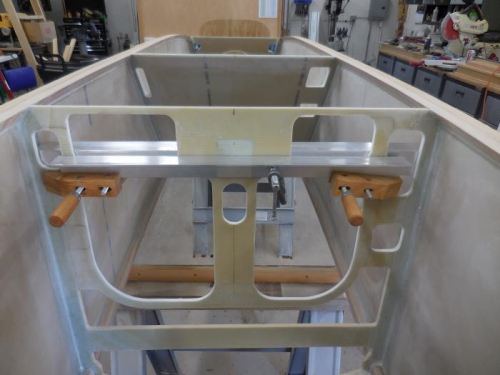
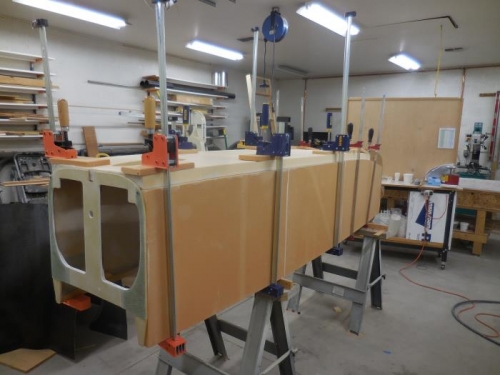
I pulled the peel ply from the resin filled voids. Sanded all the bonding surfaces on the fuselage bottom and on the fuselage. These were all peel plyed during construction but I decided to give them an extra scratch with a 50 grit sanding disk. I then vacuumed everything and wiped with acetone in prep for bonding. I then started mixing up resin and flox of the bonding operation. I used slow hardener to give me plenty of working time. I had the shop heated to 70 deg F for the morning session. I temporarily attached a foam extension to the aft edge of the fusleage bottom and covered the top surface with wide black tape. I then pre-pregged a two ply tape that will be used to tie the bottom slab to the back side of the aft seat back. I precoated all the bonding surfaces with pure resin, then started mixing flox. I used ziplog bags fashioned into cake frosting bags to apply the flox mostly. Once I had a good bead of flox where needed I placed the bottom in postion (using the small nails to guide it into proper location. I added the clamps and got it all clamped down well. I removed the locating nails. I then removed the temporary aft foam piece and layed the two ply tape onto the aft side of the seat bottom then peel ply. Then I went around and cleaned up all the flox squeeze out. Very pleased with the squeeze out.