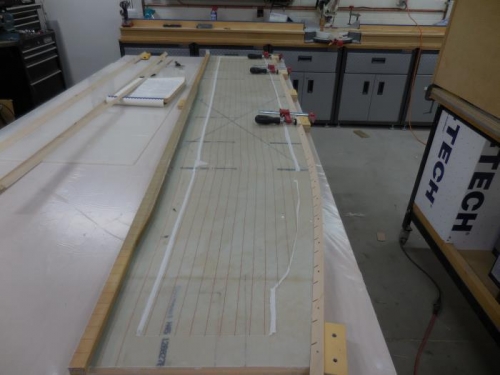
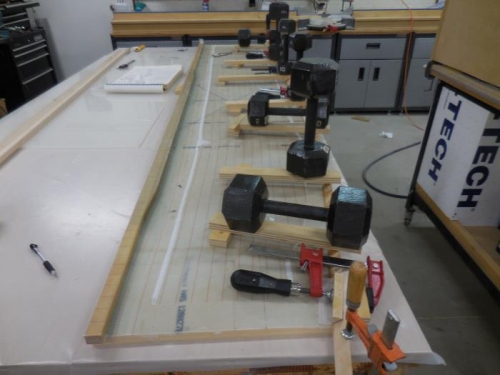
Installed the lower longeron on the LH fuselage side. This was done with wet flox per plans. I used finish nails to help make the curves fit nicely. Larger diameter nails may have been a little better at holding power. I used nails ever four inches near the aft section of highest curvature. I used my miter saw to cut the notches in the longerons. I decided to mark out and cut the RH longeron at the same time just so I don't have to figure it all out again next week! I test fit everthing and dry fit all my clamping points. I then roughed up the back side of the longeron with 80 grit disc, vacuumed it, then wet it with a damp cloth to open the grain. I then gave the glue surface of the fuselage skin with an acetone wipe. By the time I was ready to go the longeron was all dry and ready to bond. I then mixed up some wet flox and put it in a ziplock bag and applied a nice bead on the lower edge of the fuselage skin. I then placed the longeron into position with the nails and clamps then weighted it all down. I got lots of squeeze out, probably over did it a little on the flox! Cleaned that all up and then I filled the cuts in the aft section of the longeron with extra flox. All looks great! For some reason this was a rather rewarding task!
All this took 3.5 hours! I split the time to make two entries so I could add more pictures!
Note: For LH side mix 5 or 6 pumps epoxy for flox.
Overall shot with lower longeron in place
Notching the Longeron with backing board in place to minimize tearout.