
|

|
|
|
BILL'S WEB SITE
|
Date: 7-8-2008
|
Number of Hours: 8.00
|
Manual Reference:
|
Brief Description: Install Windshield/Windows/Canopy
|
|
13. Install Windshield/Windows/Canopy
Measure, tape off windows w/ electrical tape
mount w/ spreader bars into place
align center reinforcement bar with pre-drilled center panel
drill out sluminum bar to correspond to center panel
use radio to communicate with partner inside plane (has vaccum going)
use drill guide to ensure stablity when drilling
start from center bolt in center row, work fore and aft. tighten each in turn. had to go back and tighten first bolt after later ones.
completed drilling 7 tightening holes in center support plate. remove, disassemble spreader bars, remove windshield. Bore out drilled holes in widsheidl to insert metal bushings. Prep both windshield and mounting surfaces
QC prepped bondin gsurface by squirting distilled water. beading indicates oil contaminiation.
mix bonding material 3 minutes with machine. use gun to spread pink mixture along edge of window, use spreaders to spread evenly along length of edge, coming to a point in the middle.
insert window in opening, use spreader bars to secure in position. insert & tighten bolts in center reinforcement plate. apply & spread additional glue outside along edge to create even bead.
sand off layer of covering off top of carbon fiber. sand end of windows, renew tape job to edge of windows. apply "micro" (resin & glass bubbles) to fill in at edge of window.
Create 4-ply "sandwich" of carbon fiber & resin, approx 5" thick.
paint/prep on window & edge with resin
apply sandwich overlapping window & edge, press down to smooth & eliminate bubbles. work strip along shape of window, clipping w/ scissors at sharp corners. apply absorbent cloth on top of layer, painting with resin & eliminating bubbles. to be removed...
|
|
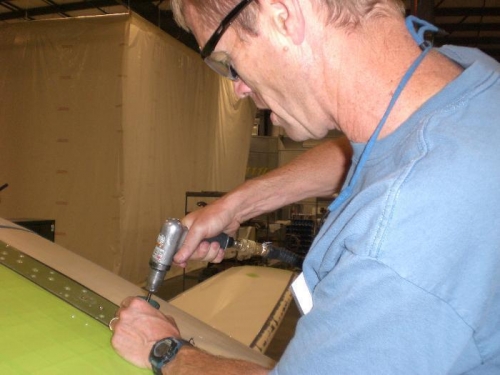
drilling holes for windshield reinforcement
|
|
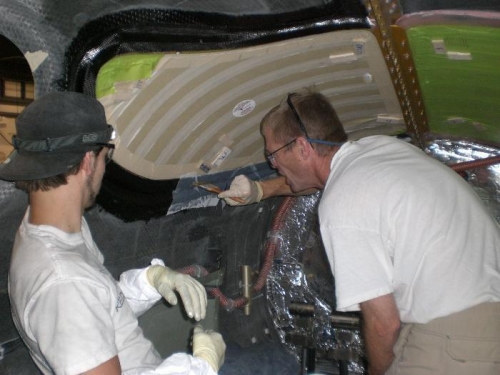
applying paper to layup
|
|
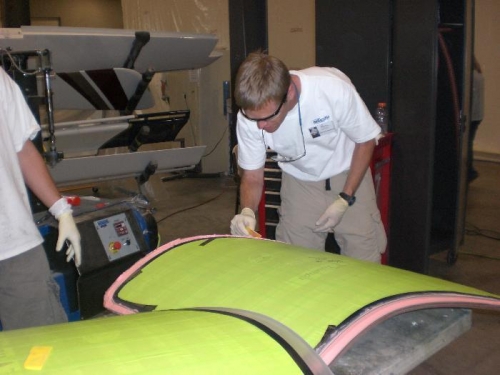
applying adhesive to windows
|
|
|
|
|
|
|
|
|
Copyright © 2001-2024 Matronics. All Rights Reserved.
|