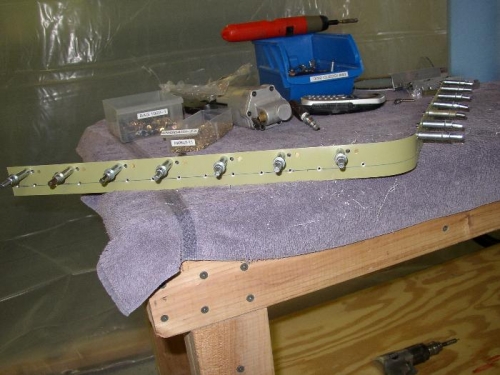
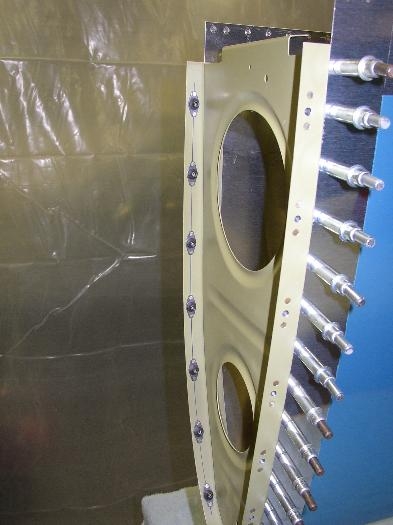
Finally got back to the garage for a little while today. Still don't have the tank sealer to finish the right tank - still waiting on the delivery from Van's. So I went ahead and moved ahead to prepping the wing leading edges and the remainder of the wing for final assembly. Started by getting out the soldering iron and removing the appropriate pieces of blue covering. Then I removed the right wing leading edge and then dimpled the leading edge skin as shown in photo #1. I also ensured the hole for the tie-down point was enlarged and tapped out the tie down attachment and verified the tie down would screw in on the right wing. Then I dimpled all the leading edge ribs and prepared the joint plate by riveting on the tank attachment plate nuts as shown in photo #2. Photo#3 shows the plate completed and cleco'd in place on the right wing leading edge. After the right leading edge was ready for riveting, I started what is going to be a long routine process of dimpling all the wing ribs and the rear spar. Got all the ribs and rear spars dimpled on the bottom. I have not yet removed the top skins to do those. I also followed Van's manual and took a little more metal out of each rear spar dimple with my deburring tool. See next entry for more photos of today's effort.
Right Wing Leading Edge being dimpled
Attaching nut plates to the joint plate
Joint Plate cleco'd to the right leading edge - the fuel tank will screw into this nutplates