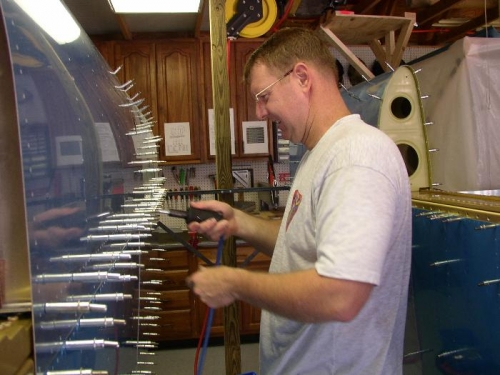
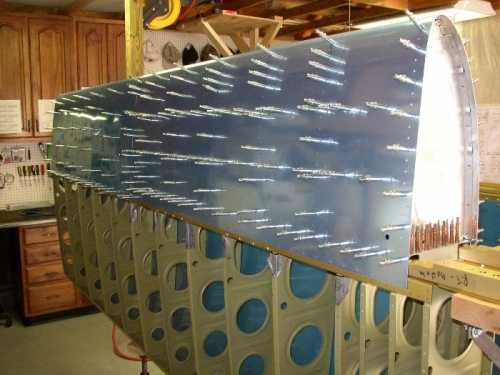
Finished up the left fuel tank prep with a few countersinks and then disassembled the left fuel tank. Started on the Right tank. After lining up the tank skin and ensuring it fit pretty well, I cleco'd the tank ribs in place as seen in photo #1 and then drilled all the holes thru the ribs the baffle and the spar and then put the skin on. Photo #2 shows me using my fancy new pneumatic cleco tool to put the clecos in. Photo #3 shows the skin in place. Todays effort went a lot smoother than yesterday (as always a little experience goes a long way). After I ensured everything was lined up, I drilled the holes thru the joint plate and then removed all the bolts holding the tank on and moved the tank over to the work bench. Tomorrow I will final drill all the holes in the right tanks and get it disassembled, then onto working the other little things in the tank. See next entry for more photos of todays efforts.