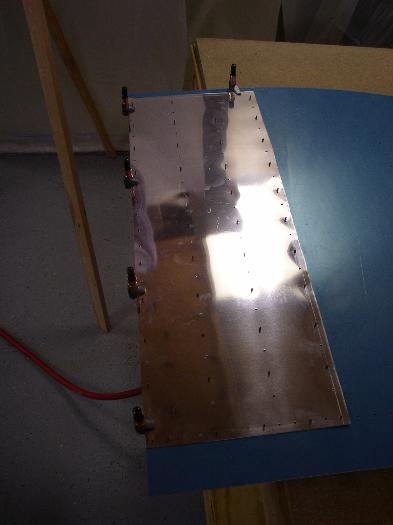
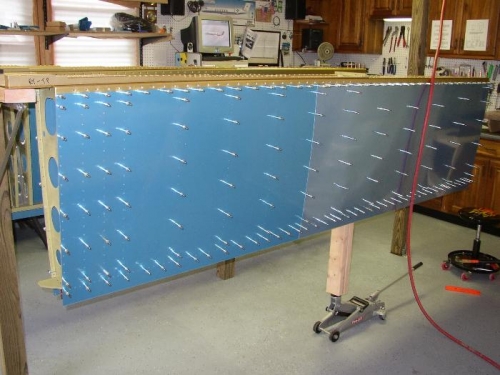
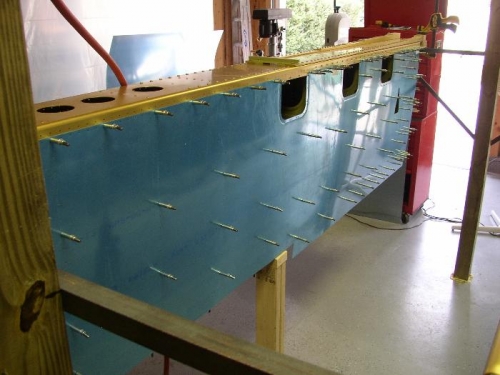
After getting the skeleton on the jig, next step is to get the wing skins cleco'd to the skeleton. But first, I had to fabricate the wing step doubler shown in photo #1. Essentially it is merely another piece of aluminum that mounts under the skin at the wing root where you step going in and out of the aircraft. Created two one for left and right. Then I cleco'd the right skins on. Unfortunately the outboard end of the skin overlaps the outboard rib by about 1/2 inch and the wing jig interfered with the skin so I had to cut out a hole to let the skin fit. Photo #2 shows the top two skins cleco'd in place and photo #3 shows the bottom two skins cleco'd in place. Yep, had to make a cutout in the wing jig for the bottom skin as well. I then got the bottom two skins cleco'd on the left wing. After the skins are cleco'd in place, the next step is to drill everyone of these holes, which I did for the bottom two skins before quitting for the day.
Wing Walk Doubler just after match drilling the rivet holes with the top skin