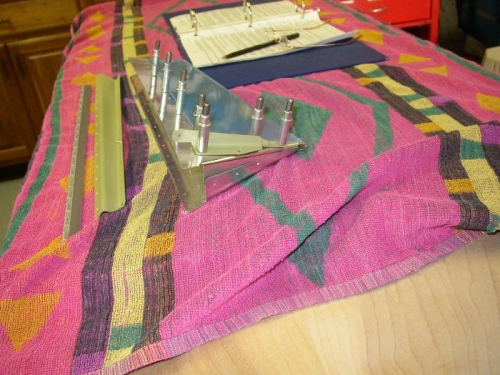
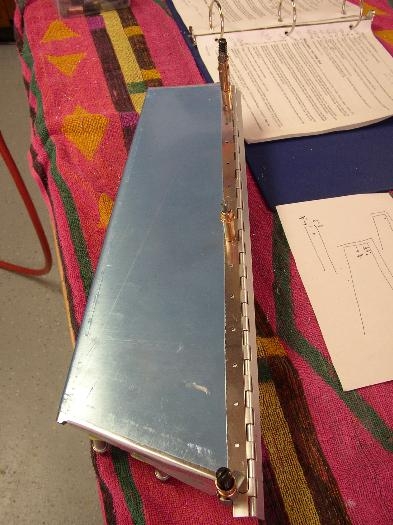
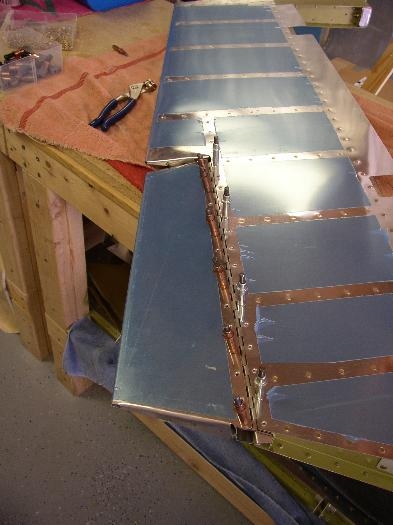
With the trim tab bends already done I went to work to complete the trim tab today. First off was to get the trim tab spar and tab horns match drilled as shown in photo #1. Next off was to measure and position the trim tab hinge on the trim tab as shown in photo #2. The hinge had to be trimmed on both the trim tab and the elevator after installation. Next off was riveting the trim tab skin to the bottom of the spar and rivet on the trim tab horns. Pretty tight inside the trim tab but was able to make it happen. (of note: the Van's instructions have you cleco the trim tab altogether then it says to rivet the bottom of the tab skin to the bottom flange of the tab spar - of course this is well inside now of what you have just cleco'd together - I don't know how they think you can rivet these pieces together with the trim tab all cleco'd). Next off is to position the tab on the elevator itself and align and mark the hinge to mount it to the elevator as shown in photo #3. Instructions are pretty specific in that you should ensure the trailing edge of the elevator and the trim tab are aligned and then align the inboard edges. Both came out well I think. Finally you rivet it all together. See next entry for completed photos.