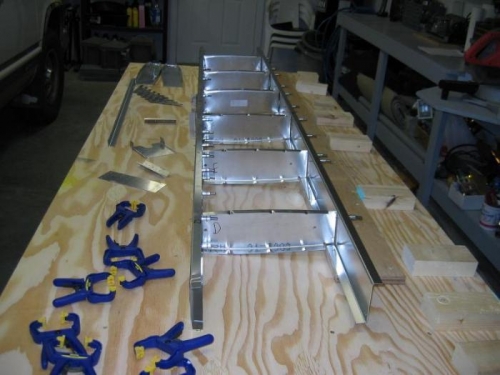
Deburred all the pre - drilled stabilizer front spar holes. Marked center line on spar and the doublers trace the end of the doublers on the spar. remvoe the doubler and check the location the marked holes. approximately 8 mm. reinstall doubler inside the spar line up the center line. Clamp the side flanges together.Turn spar over and frill the doubler holes and clecoed as I drilled.Made a template out of 3/8 plywood per manual instructions Positions the template on the fron side of the spar. Checking that the template is sqaure to the top ot the spar. clamp the attachment doubler at the end of plywood template drilled and clecoed.Drilled and cccleco throught e pre drilled holes in the spar #30 pilot holes. Clamped the front spar attachment 6T2-1 to the side of the attachment doubler 6T2-1 Cack drilled and clecoed the attachment throught the pre drilled holes in the spar.Drilled and clecod the two flanges together. Attached the doublers and rear spar to the rear spar 6T1-4. Cut the side flanges of the the rear spar attachment 6T2-3 Drew a centre lineand mark the cable relief hole on spar attachment and cut out. finished radius with round file. check the height of the side flange to be 3mm. Deburred the pre drilled pilot hoels on overlapping surface with the doublers. Layed out the aircraft center line lines on the spar and doublers. Line up center lines and clamped. Clamped the bottom flange. Drilled and clecoed throught the pre drilled hole with #30 drill bit. Layed out the center line square to the top edge clamp the shim to the spar. Shim # 6T2-6HD Drilled and cleco 4 holes 10mm from edge of shim. Clamp rear spar attachment to the spar. Back drill and cleced the 25 holes on attachment 6T1-3