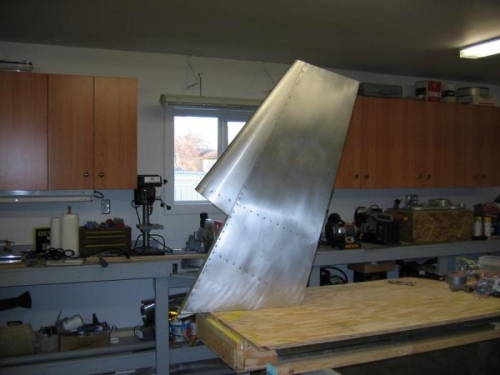
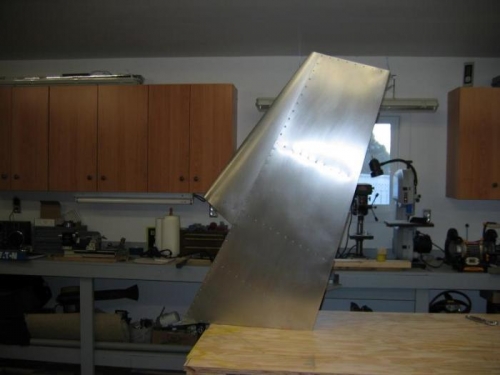
Brief Description: rudder skin pages 1 to 14 completed rudder
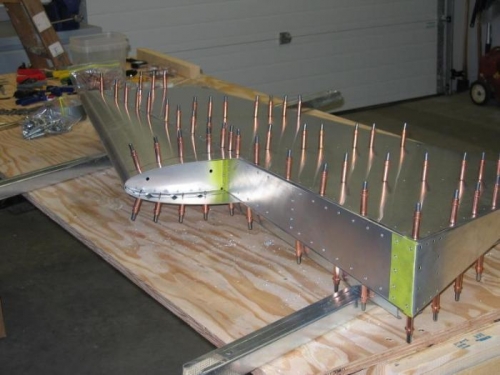
Measured and cut 165 mm from the bottom corner of the trailing edge of skin. First cut was a rough cut. Removed sharp edges from skin with file. Put skeleton into the skin align the top of the skin with bent tangent of rib flange secured with duct tape. Marked the center of rib stations along the front edge of the skin. Used aquare to mark rivet lines for ribs 3, 4 Layed out the rivet line along the front edge of the skin 10mm from the edge and a line along the top edge of the skin at 8mm for the tip rib and another line at 10mm from the bottom edge for rib # 1. Layed out the rivet pitch for 3 and 4 rib. Drilled and clecoed every second hole with small #40 bit Duct tape the skin to the spar. Line the trailing edge of rudder. back drill all holes with # 30 drill bit and clecoed. One side than the other side. Slide the nose skin in between the spar and the rear skin Verified the center of the nose skin rdius lines up with center nose rib radius. Use duct tape to hold the skin in place. Layout 10mm pitch rivet line. Than drilled and clecoed. Traced a around the tip rib to mark the overhang. Layed out the rivet line for the nose rib. Positioned the rivet centerline with a square.Remove nose skin and snip of the edge on the line earlier marked.Drilled and clecoed the other side of the nose skin to the spare, remove the skin debur and clean with alchol spray all mating parts of skin with chromate corrision protector. Let dry than assemble entire rudder and rivet with A4 rivets. Rudder completed. Looks Good!