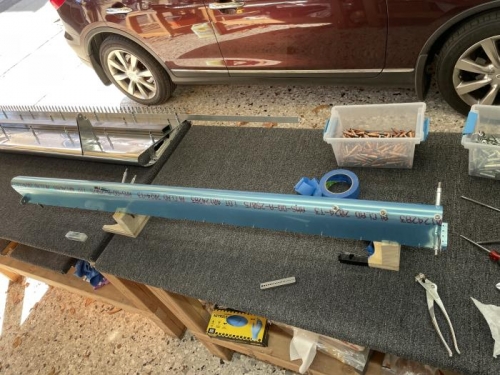
Brief Description: Nose Assembly and Drilling Counterbalance
Finshed riveting the last end rib with no problems this time. Started to assemble the nose and now I see why everybody in my Slack group was bitching about the aileron build. It's a real bear to get that nose skin wrapped around the ribs. I finally got all the clecos in place and started to drill into the steel counterbalance.
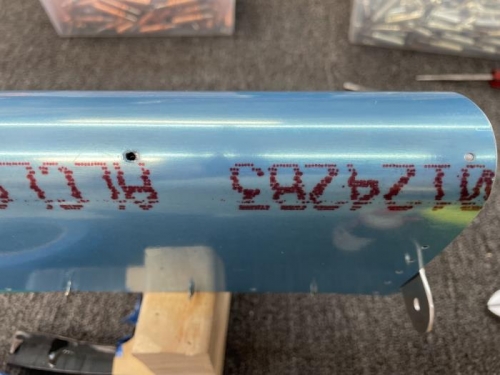
Steel is damn hard! I started with a new bit and used some machine oil as lubricant. When I finally broke thru the tube I saw that the hole in the skin was slightly slotted. It seems the bit walked a little during the drilling. This hole gets final drilled later to a #34 size, so I may be able to clean it up a bit then. There are 10 holes in the nose skin to match drill into the steel tube, but the end holes both use screws and lock nuts to fastenen the skin to the tube. The interior holes get MK-319 pop rivets.
Instead of drilling only the end holes I drilled three of the interior holes because I didn't read the plan throughly enough. I stopped for now mostly out of frustration from the drilling process. Before I start up again drilling thru the steel I'm going to order some cobalt bits from McMaster-Carr. I think my bits aren't cobalt.
Aileron nose skin assembled and some holes match drilled in the counterbalance
This was my first hole and I slotted it because the drill walked