Brief Description: Closeout Left and Right Trailing Edges
I scuffed the unprimed surfaces again to get rid of the oxides that built up since I prime the skins and cleaned them throughly with IPA. I wish I had a 2 oz. semkit instead of the 3.5 oz because I knew most of it would go to waste. When I did the three ribs in the trim tab I only used about half of a 2 oz. semkit.
It was pretty easy getting the right amount of sealant on the ribs with the Semco gun and a squegee to spread the correct thickness. I had watched Vans video on the fuel tank construction prior to this session so I could pick up some tips. It must have paid off because I didn't have much mess to clean up and I didn't get any sealant on my clothes or me.
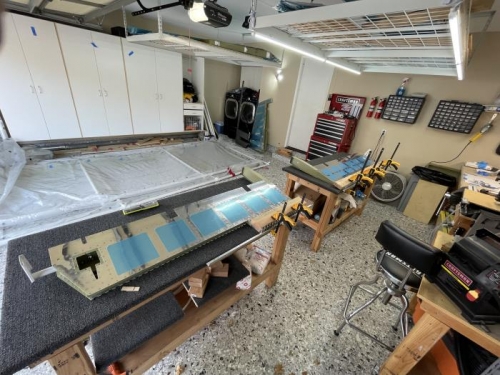
The final step was to put a 2 X 4 board and clamp everything to the table. One lesson I learned from the trim tab is that you don't have to clamp down with a lot of force on the boards. There is a small deflection in the trim tab lower skin where the foam rib edge is. I think that happened because I used too much force on the clamps. The plans say to use a weighted board, so I was a bit less agressive with the clamps this time. We'll see the final results in three days.
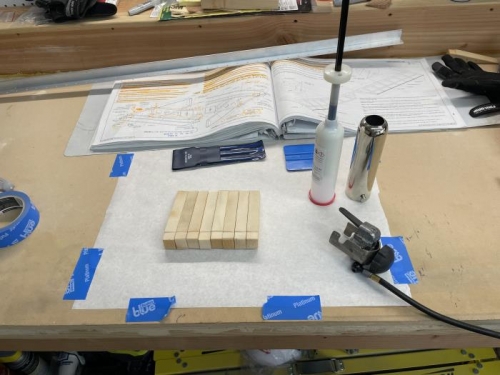
Setting up for applying the sealant to the foam ribs.
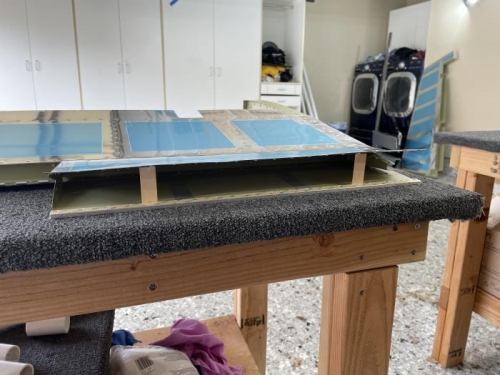
Throughly scuffed and cleaned the rib locations. The popcicle sticks work great to hold the skins up.
All ribs in place and clamped lightly to the bench for a three day cure.