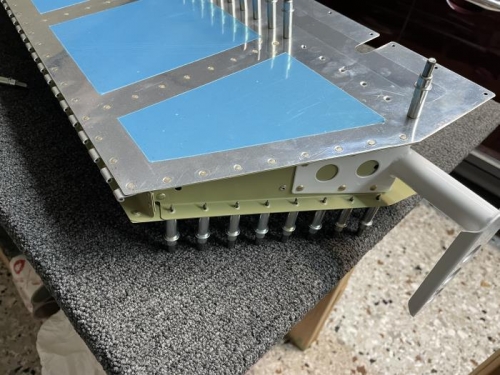
This post summarizes three different work sessions from June 29 to July 1. The front spar sub-assembly was riveted to the upper and lower skins and the inboard and outboard ends were closed out.
I read the plans several times for the end closeouts, but it really didn't sink in what was going on until I started work on the actual hardware. The objective for leaving the rivets out at the front and rear spars in selected locations is to allow you access to rivet the E-921 and E-1022 shear clips in place. With that overall objective in mind it was easier to understand the detailed instructions.
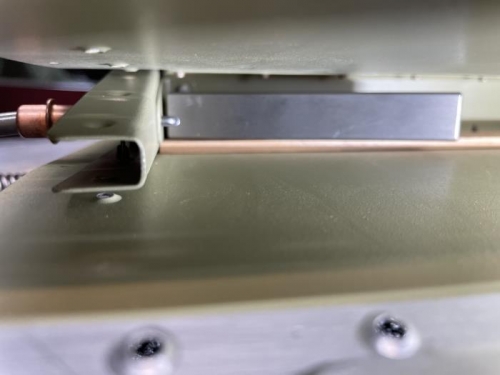
It's a really tight squeeze aft of the rear spar when you need to rivet the shear clips. I used my longer tungsten bucking bar to set the two AD4 rivets. I could barely get my hand in there to hold the bar while riveting. I ended up just setting it on a paint stirring stick and holding my finger up against the opposite side. Worked like a charm and I didn't scratch the primer. This is where the tungsten bar shines and made it well worth the extra money it costs.
Sealant arrived yesterday. It's interesting that on Van's website the 3.5 oz semkit is not labeled properly. It's described as Flamemaster MC-236-B1/2. I originally didn't want to get it because I need more than 30 minute work time. However, it's actually B-2 with 2 hour pot life. I couldn't find MC-236 on any other aviation supply website. Turns out that it's actually called CS-3204 B-2, and I found that everywhere. Aircraft Spruce has 2 oz semkits of the stuff, which is a better size for this job. Good to know.
It's a very tight squeeze aft of the rear spar. The paint stir stick protects the skin when riveting.
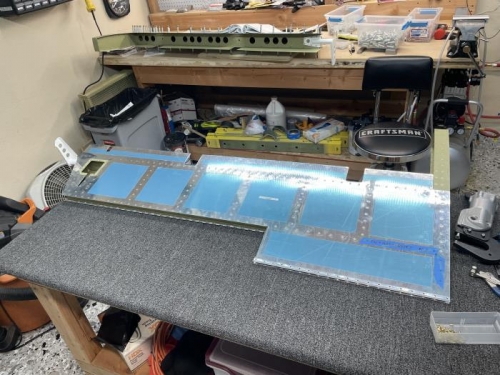
Left elevator riveting nearly complete. Next step is installing the foam ribs.