Brief Description: RHS TE wedge C/S and finish fabricating foam ribs
I finished countersinking the RHS TE wedge. It took only about 30 minutes to finish it because the cage was already set up and I was getting faster with the drill. The chattering wasn't much of a problem because I had developed a good feel for just how fast I could push the drill before it would howl. All of the countersinks were flawless.
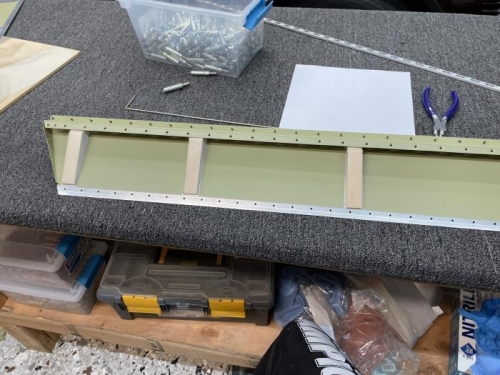
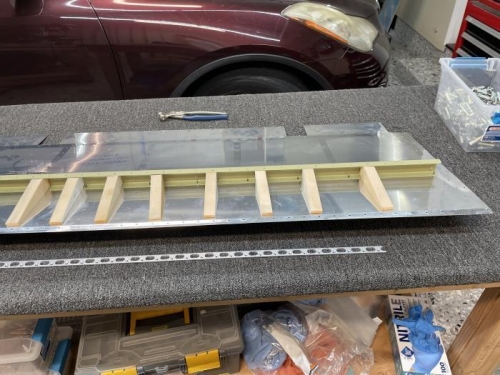
I had started fabricating the foam ribs a long time ago, and finally I got around to finishing them. I used my belt sander to shape the foam to the paper template glued to the foam block. It looked good per the template, but I decided to fit check all the ribs on the parts to see how well it would contour to the skin. It's a good thing I did because even though I used the paper templates per the plans, I think when I printed a copy of the template page I had the scaling set a tiny bit off because they were a little too large.
I individually sanded each rib and custom fit it in place, making sure that the transition from spar to rib along the IML was smooth. This should fit together very well when I install the ribs with sealant.
I did notice a slight problem. I didn't mask the rear spar at the rib locations as called for in the plans. I'm not sure if I should spend the time to sand away the primer at those locations on the spar or leave it as is. I'll email Van's tech support and go with their recommendation.
RHS TE wedge countersunk. It went much faster this time.