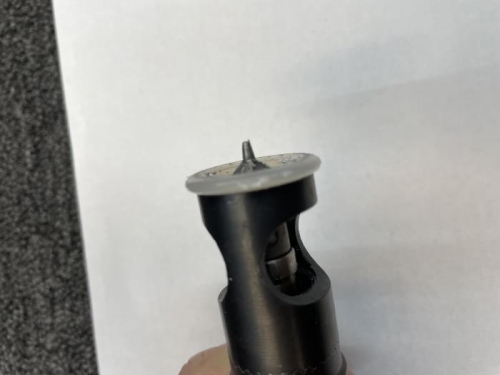
Today I finished countersinking the LHS TE wedge. You need to use a modified cutter with a tapered pilot to make sure the centerline of the C/S is 90 degrees to the wedge surface. Fortunately, Cleaveland Tools sells such a modified cutter for use in countersinking the wedges.
They also sell drill jigs to align the surface of the wedge to be parallel to the table surface. This is great if you're using a drill press, but I used a hand drill to make the countersinks so I really didn't need it.
I cut a small test coupon out of 0.063 Al sheet to set the correct countersink depth. The plans call out for the C/S depth to be 0.007 under flush.
I still have chattering issues when drilling countersinks, but I find if I use Boelube every 2-3 holes and go slow I can eliminate chattering. The countersink quality was excellent in each one with a smooth polished surface. The chattering seems to be releated to the size of the hole you're countersinking. I had the opportunity to drill some 3/16 in. holes and countersink them in 0.125 in. thick plate when I took a class at work. I didn't get any chatter no matter how hard I pushed or the speed of the drill. It's also much easier to rivet larger sizes. The smaller scale of what we're dealing with for these aircraft seems to require a more delicate touch.
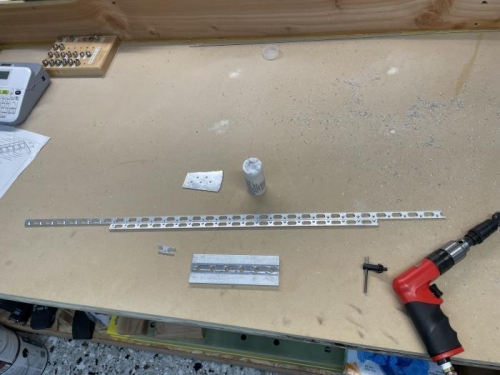
TE wedge positioned in the RV-14 drill jig sold by Cleaveland Tools.
Finished with the LHS wedge C/S. I used a test coupon to properly set the C/S depth.